Plant-based Cheddar Cheese (Revisited)
Last time I made Michelle Blackwood’s Vegan Cheddar Cheese, I lamented about the ratio of agar powder to water.
Well, tonight I decided to try the recipe again, as it is a good recipe, just not my all-time favorite so far. And, I’ll stand by my thoughts on the agar powder ratio, and my final verdict, again!
But, just to help you get inspired, I’ve taken a few more pictures on my journey tonight.
To recap, here’s Michelle’s recipe:

Vegan Cheddar Cheese
Ingredients
- 1/2 cup water for mixing with agar powder
- 2 tablespoons agar powder or 2 teaspoons kappa carrageenan
- 1/2 cup water for mixing with other ingredients
- 1/2 cup cashews raw
- 1/2 cup red bell pepper chopped, seeds removed
- 1/4 cup nutritional yeast flakes
- 2 tablespoons lemon juice
- 2 tablespoons coconut milk
- 2 tablespoons coconut oil optional
- 1 tablespoon tapioca starch
- 1 tablespoon non-gmo cornstarch
- 1 teaspoon granulated onion powder
- 1 teaspoon granulated garlic powder
- 1 teaspoon salt
- Pinch Cayenne pepper optional
Instructions
- If using a high-speed blender, add water, cashews, bell pepper, nutritional yeast flakes, lemon juice, coconut milk, coconut oil, tapioca starch, cornstarch, onion powder, garlic powder, salt, and cayenne pepper.
- Process until smooth and creamy.
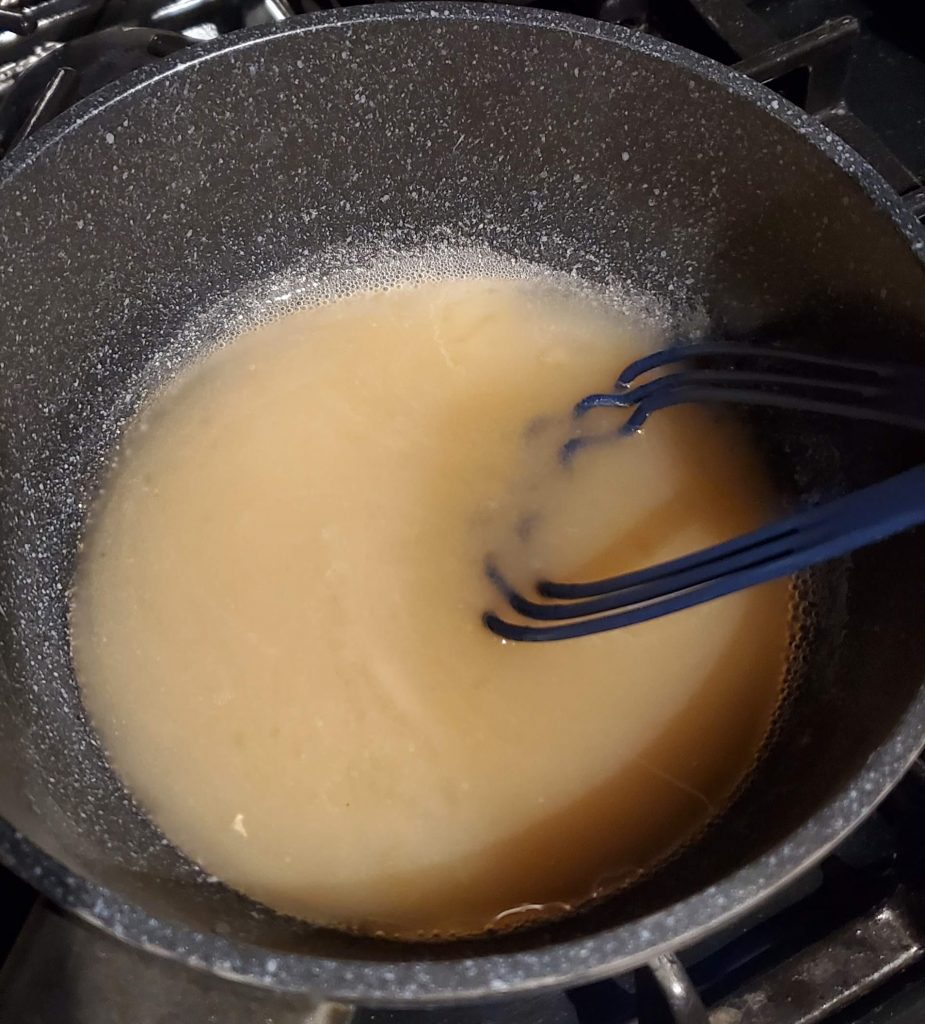
- Mix cold water with agar powder in a saucepan, bring to boil on medium stirring constantly.
- Remove from heat and immediately add to cheese sauce.
- Process until smooth.
- Pour mixture into an oiled container and refrigerate for at least 1 hour.
- Alternatively, especially when using a regular blender, process all the ingredients including agar powder in a blender until smooth. Pour sauce into a non-stick sauce on medium heat whisking constantly until thick and bubbly. Immediately pour into an oiled container and refrigerate for an hour.
Notes
I was making a double-batch, as I do have a large blending container, and if I’m going to go through the work and mess to make it happen, I might as well make enough to matter! And, although not awesome, it does freeze “okay.” So if I don’t use it, in the freezer it’ll go!
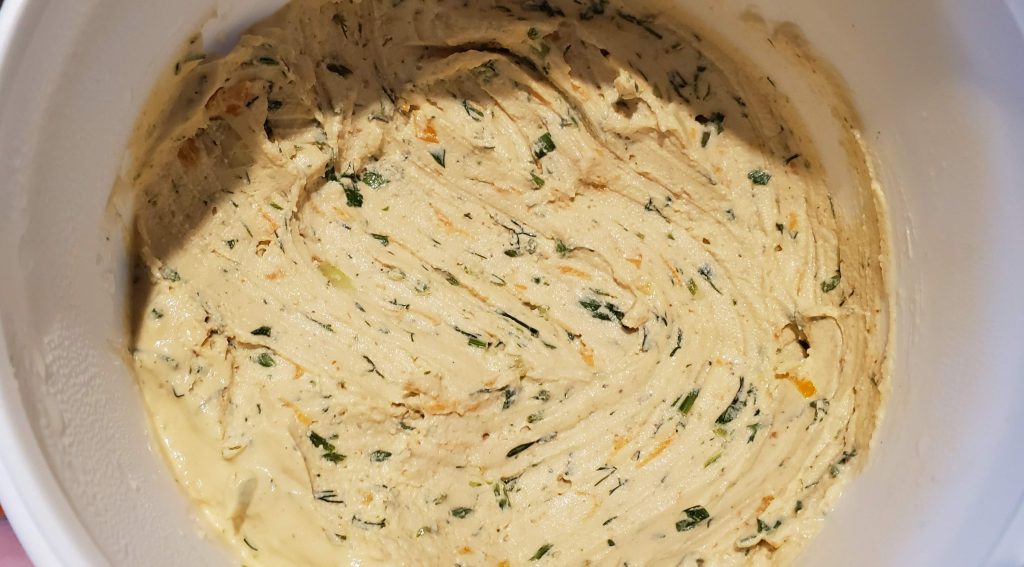
Doubling each ingredient (except that coconut oil, which I again avoided, and the first water and agar powder listed), I added them to my blender container and blended for about 1 minute, starting off at slow, but quickly working up to high.
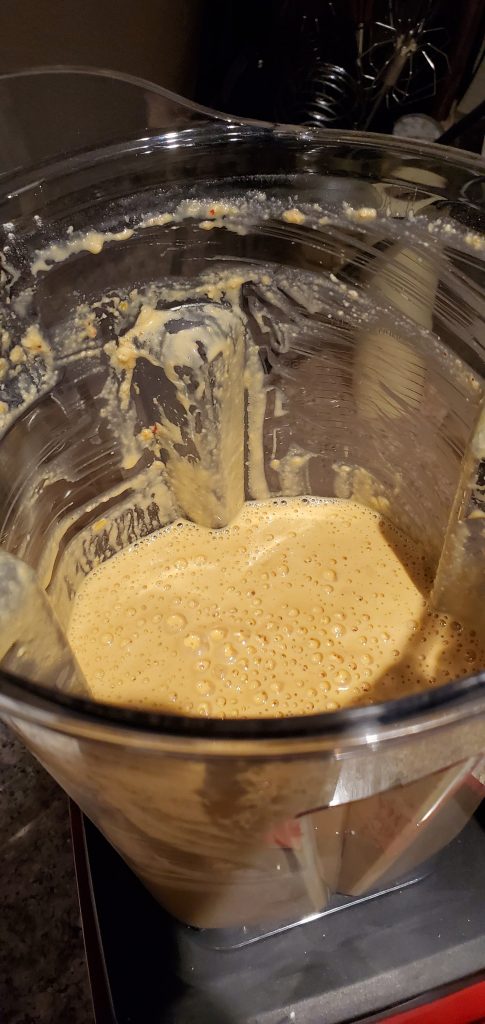
Next, I heated the agar (which I forgot to double, but, forgetting that I had the agar/water ratio problem, added another tablespoon for good measure. So I had 3 T of agar powder and 1 cup of water.
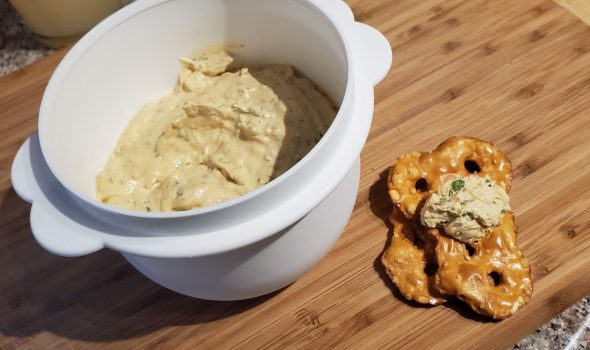
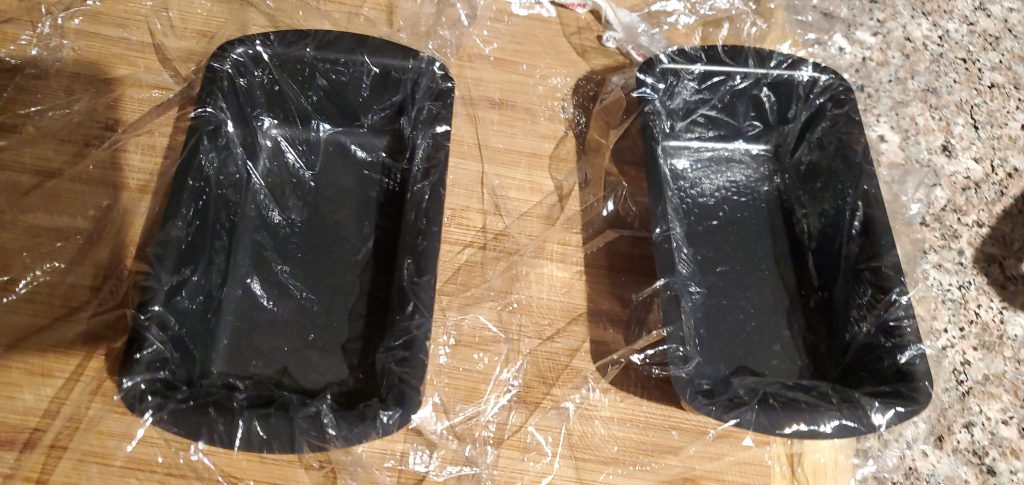
Once the agar mixture was super goopy, I added it to the blender, and blended for about a minute again. Previously, I had prepared my tiny loaf pans to create my cheese blocks. I still love my idea of lining the loaf pans with plastic wrap, and can’t understand why you’d do it any other way! It makes for super easy cleanup; just fold the plastic wrap neatly over the cheese, and turn upside down to dump out!
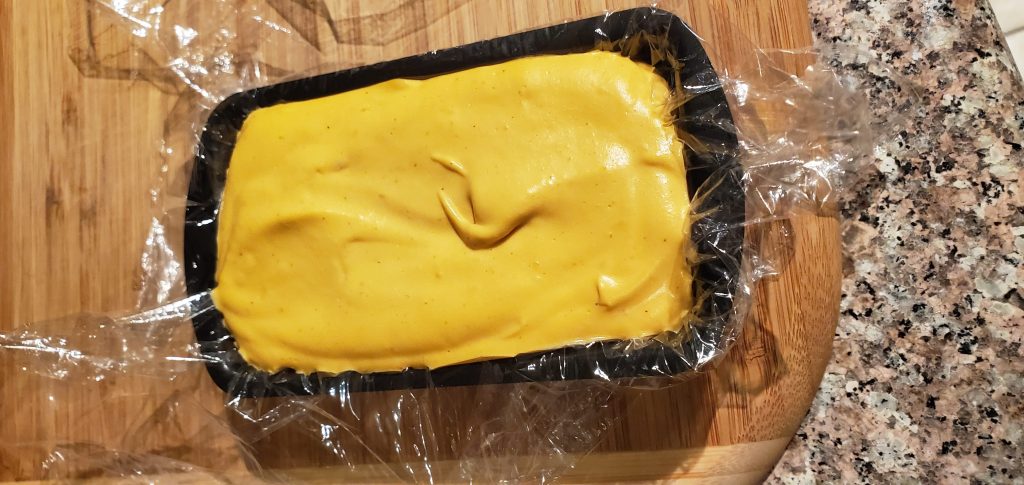
Working quickly once the blender stopped, I poured the goopy cheese into my loaf pans, and then simply popped them into the refrigerator.
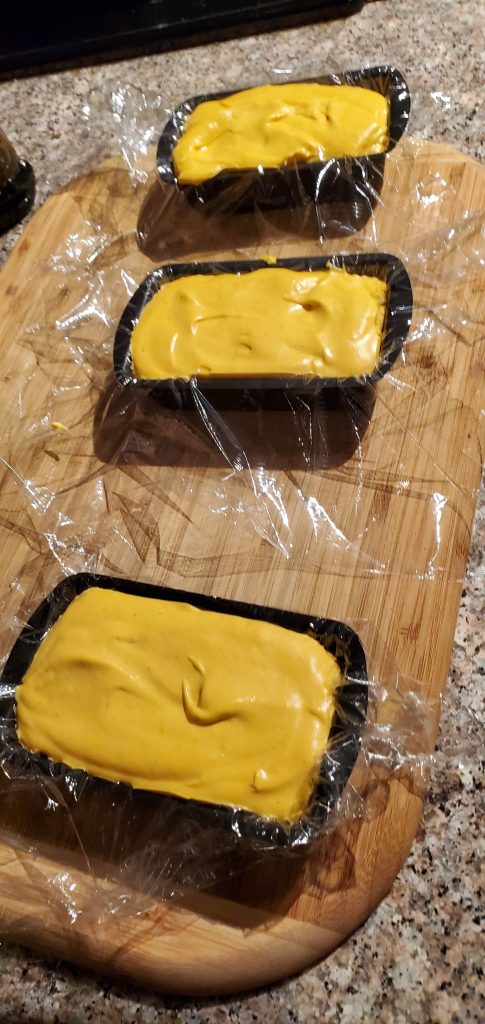
This was fun, and I was excited that my double recipe created 4 loaves! But, then I got to wondering, would that coconut oil really make a noticeable difference?
Now, here at the Plant-based Bear, we don’t use oils, really, at all. But the recipe calls for the coconut oil. Why put the ingredient in there for no reason, as I’ve had success without it? And, the amount of oil is quite high. But, against my instincts (or perhaps just resolve) I decided to do it anyway.
(The Plant-based Bear doesn’t use oils at home, in general, but acknowledges they’re almost impossible to not have when dining out. So, from time to time I do have some oil, although I still try to avoid oily foods and everything deep-fried. I guess this was to be one of those times.)
After repeating the whole process for my new batch and then waiting for everything to get cooled in the refrigerator, it was taste-test time!
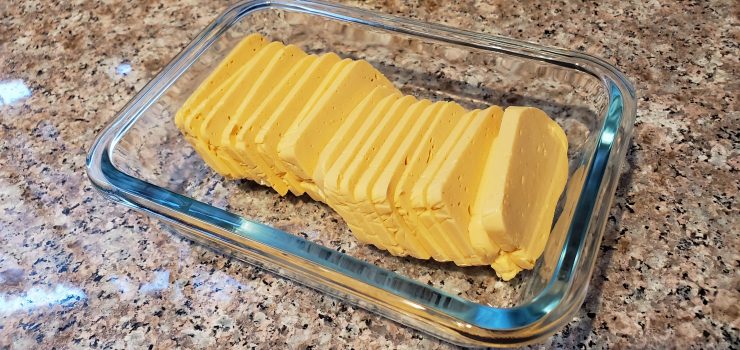
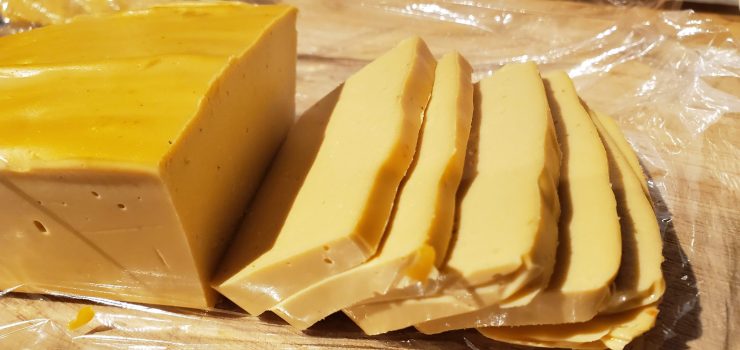
I neatly folded over the plastic wrap, then turned over and dropped the loaf out of the pan. For longer storage, I still keep everything in zipper bags, or airtight storage containers in the fridge.
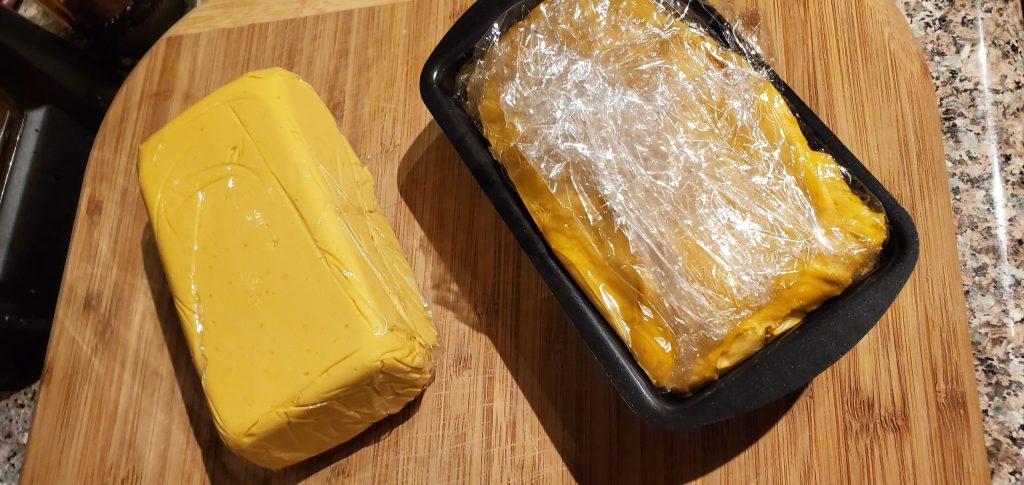
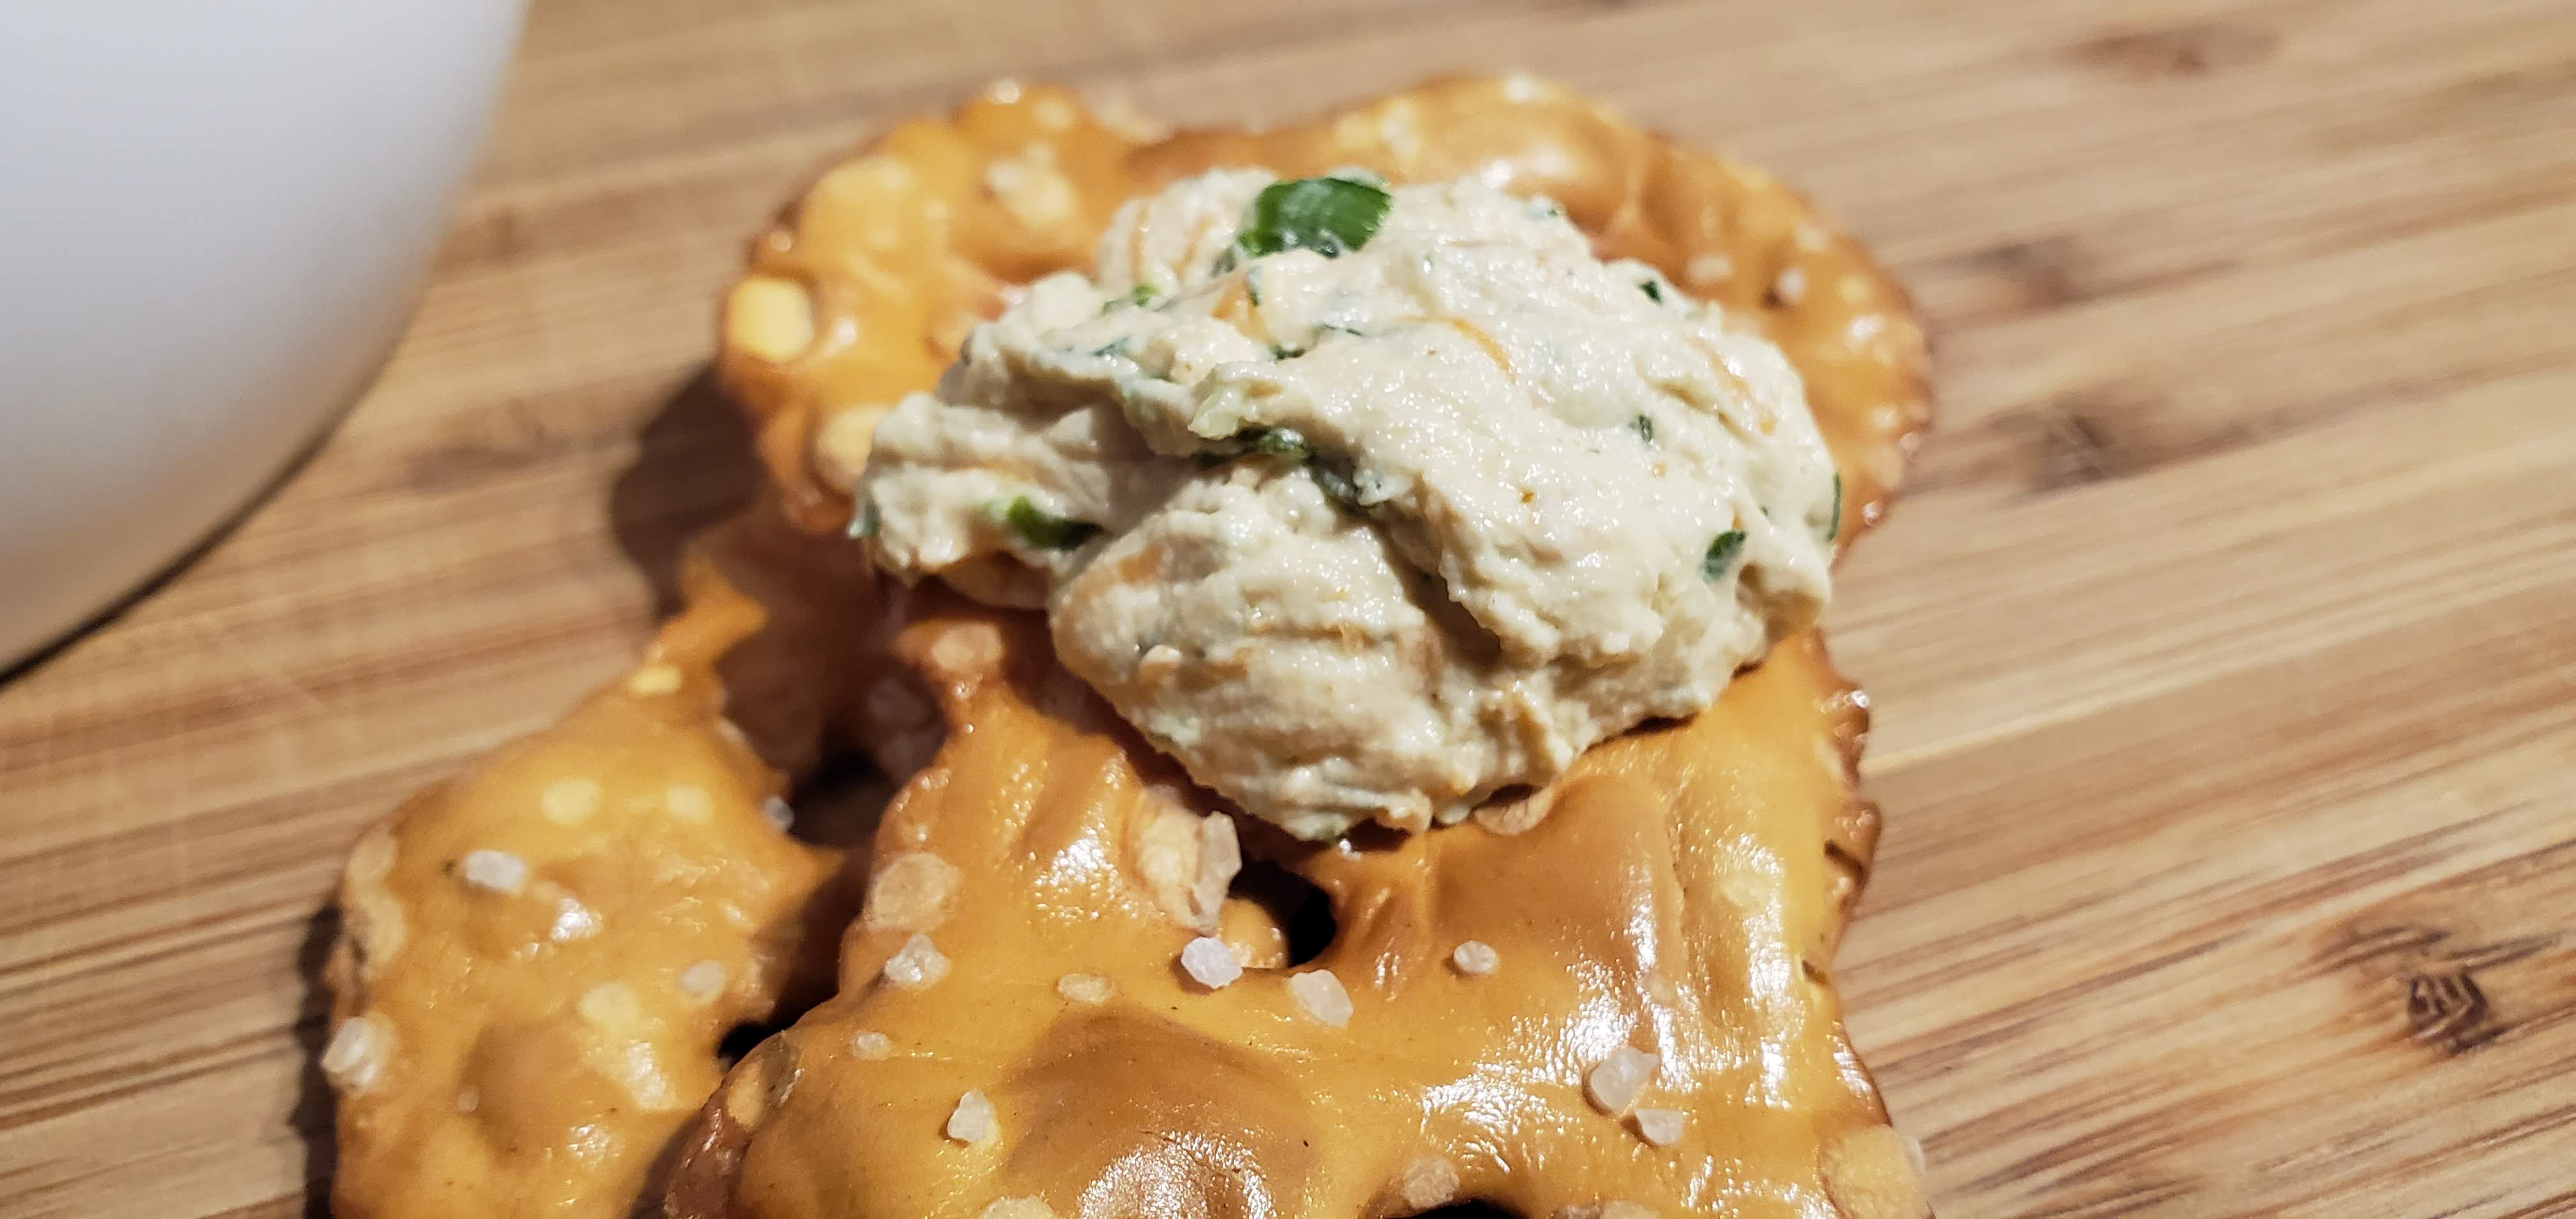
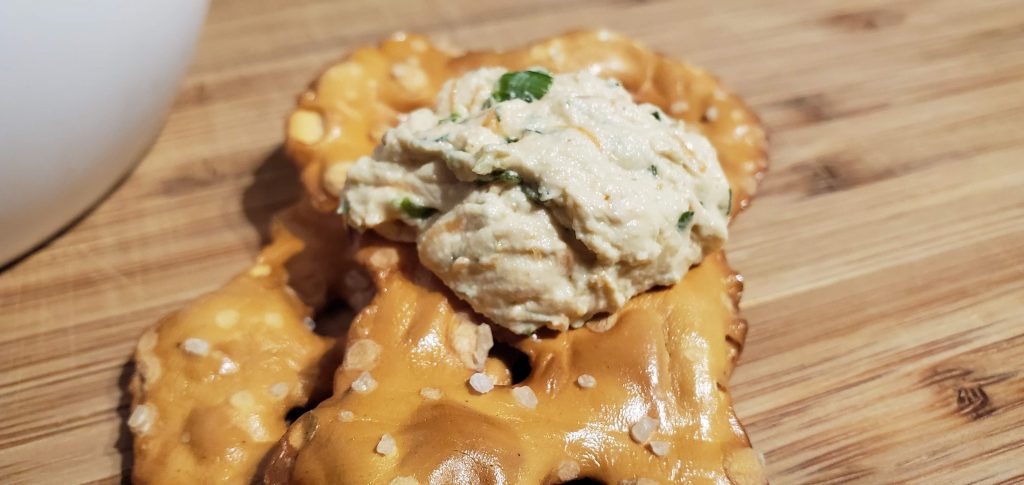
It’s ready!
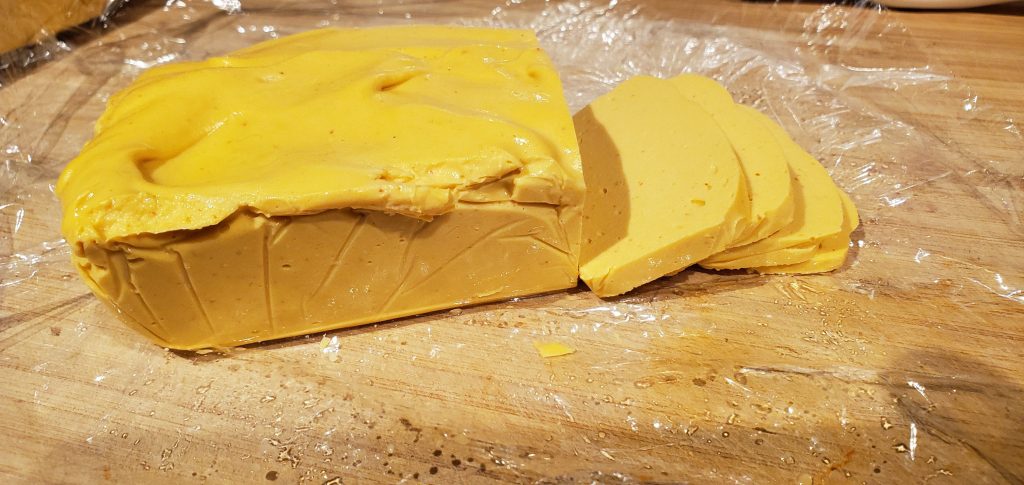
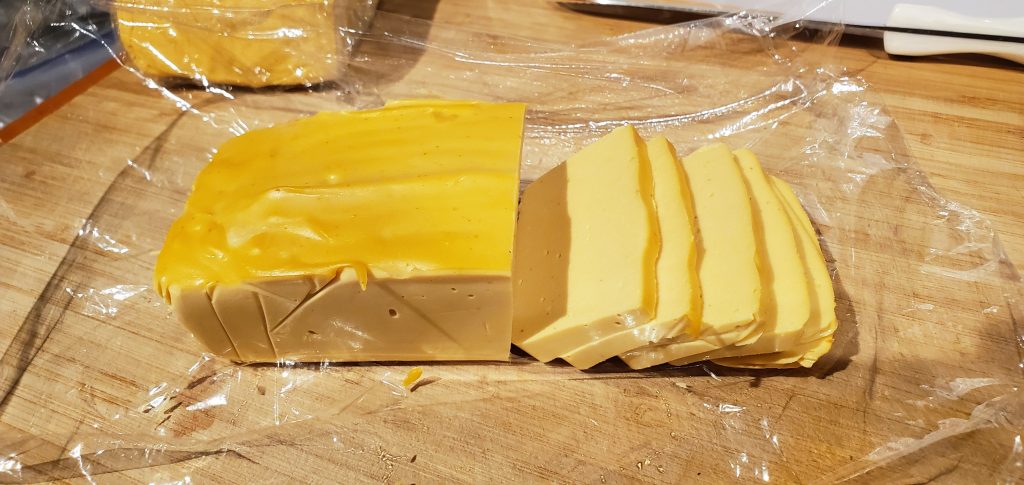
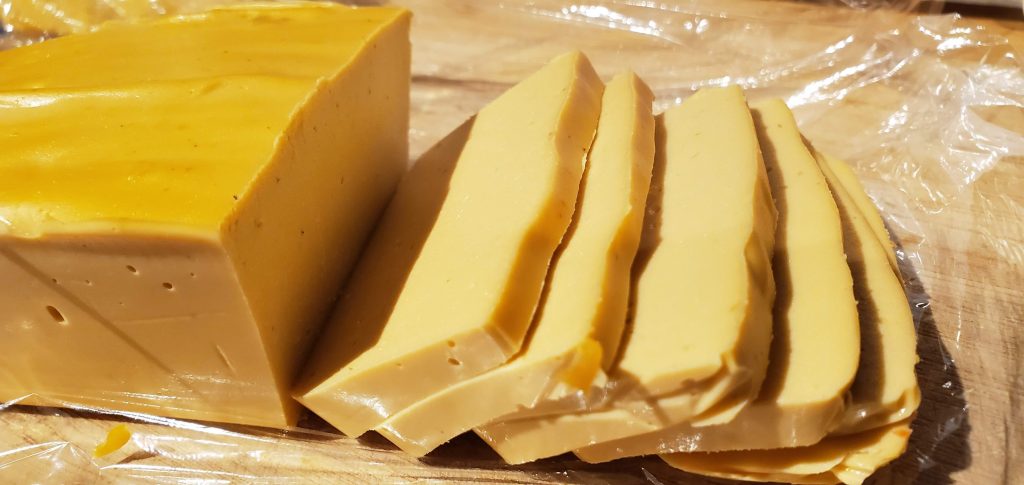
The coconut-oil cheese tastes identical, however, it does seem to have a smoother, less bubbly texture. The mouth feel is the same, although it’s slightly smoother there, too, more like Velveeta or something. It’s also possible I simply blended this batch a little bit longer.
So, to coconut oil, or not to coconut oil? NOT! The Plant-based Bear will still continue to NOT use oil as much as possible, and this experiment proved, that again, it’s simply not necessary for the amount of downsides.
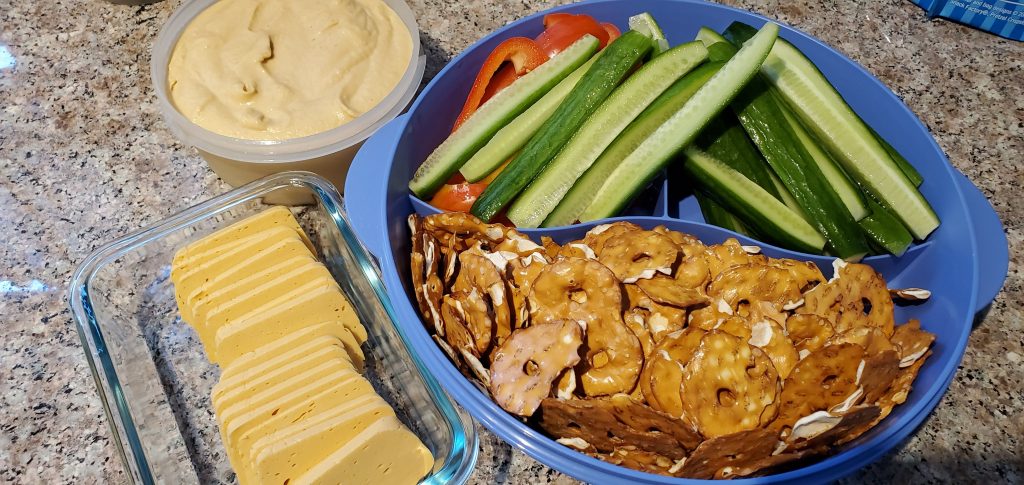
Now, I have 8 little loaves of cheese for my upcoming weekend trip. I realize that sounds like I’ll only be eating cheese all weekend! But, I will take a couple of loaves on my trip, along with some homemade whole-wheat bread to makes sandwiches or whatever! Delicious!