Cheesy Brocolli Rice Cream Soup

Cheesy Broccoli Rice Cream Soup

The winter days are waning, and it’s heating up, but there’s still just enough time for a little more comfort food – soup!

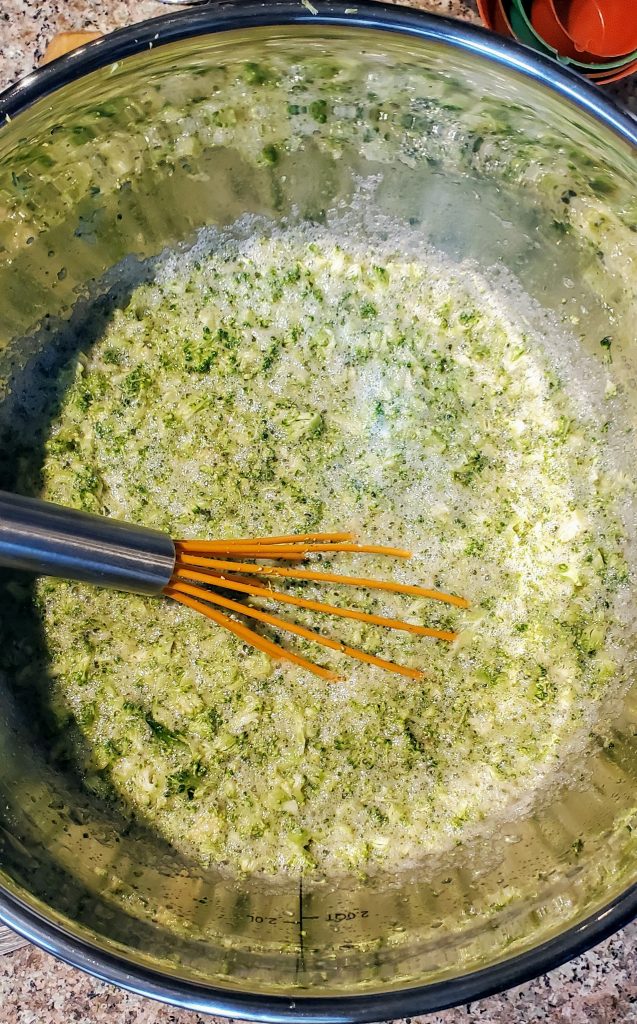
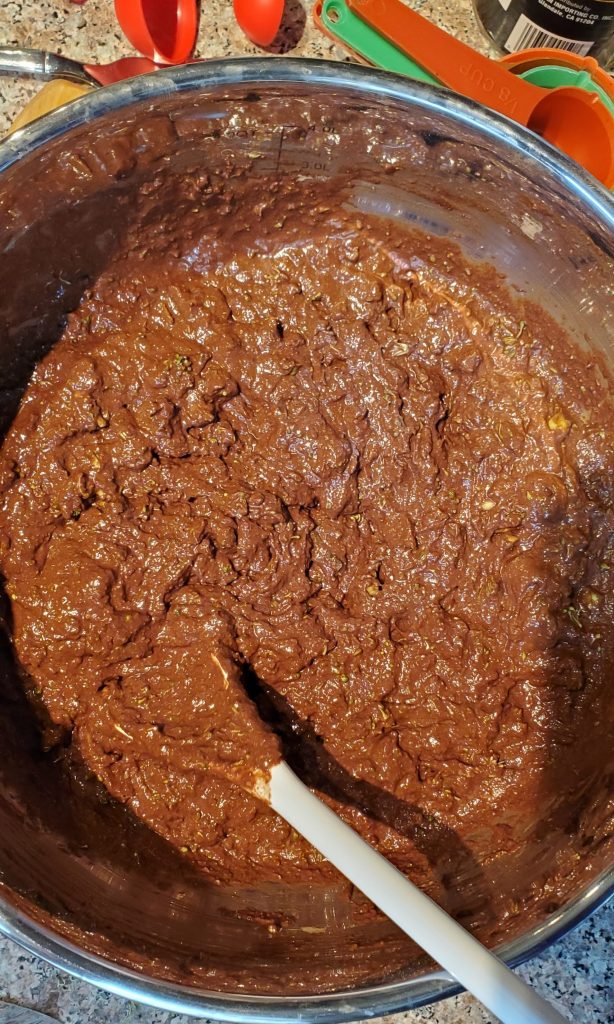
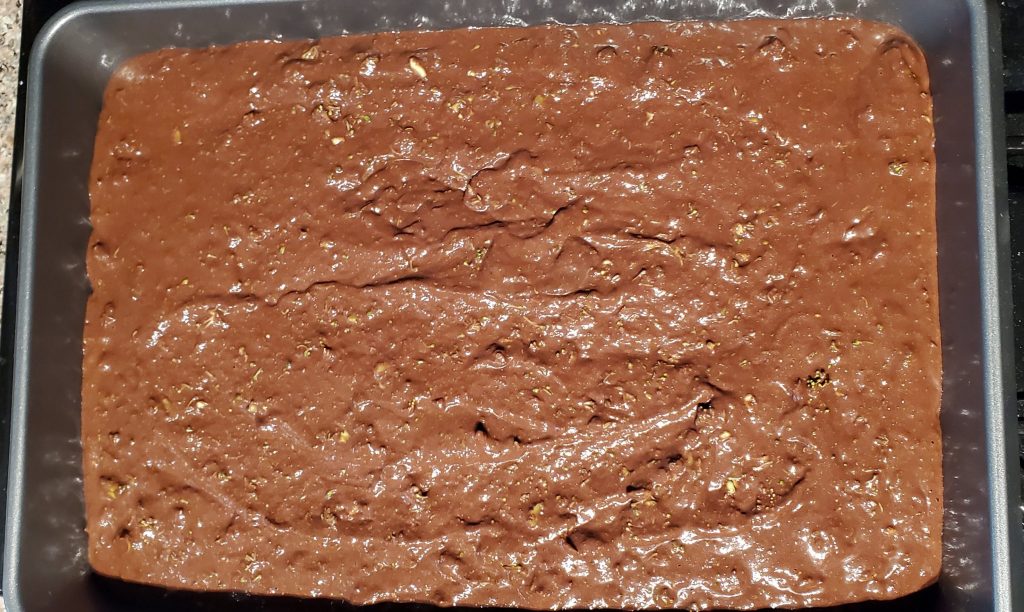
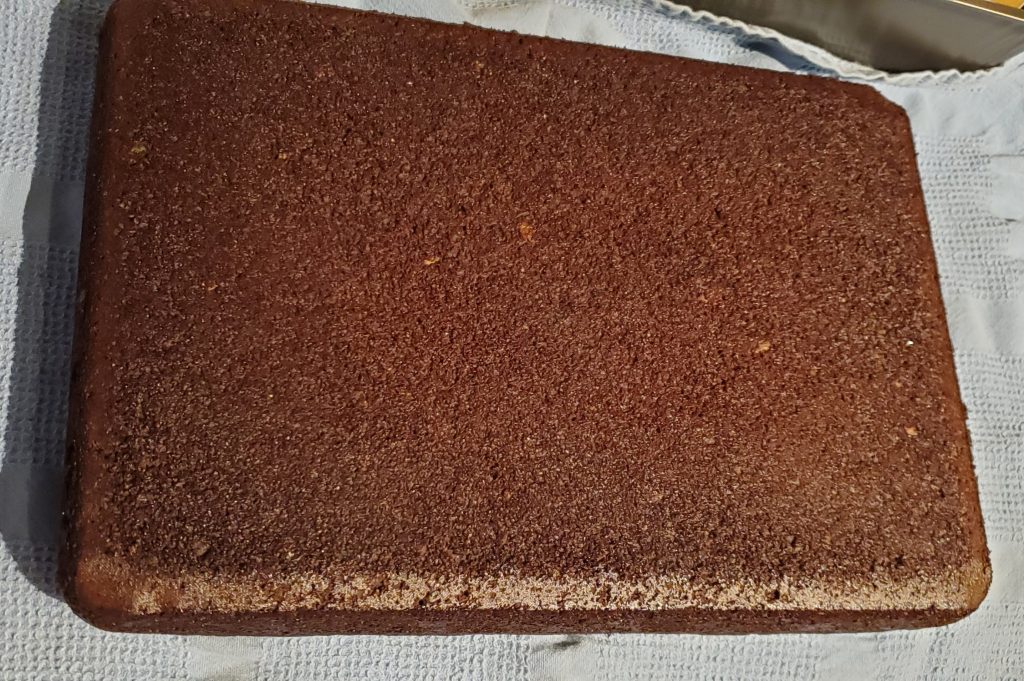
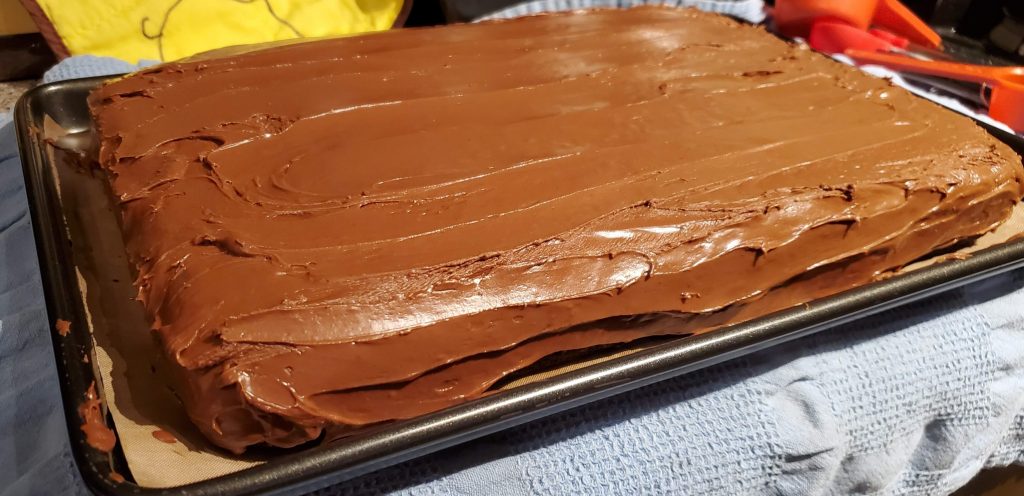
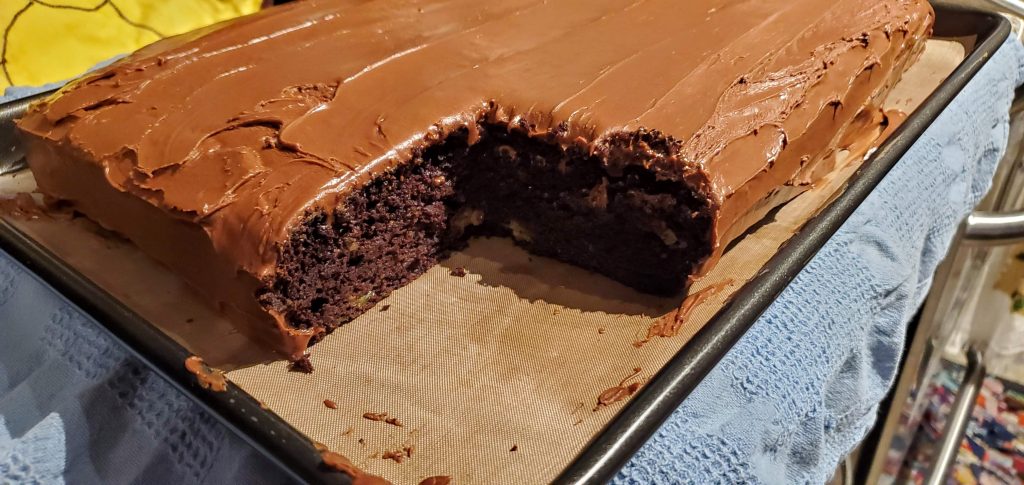
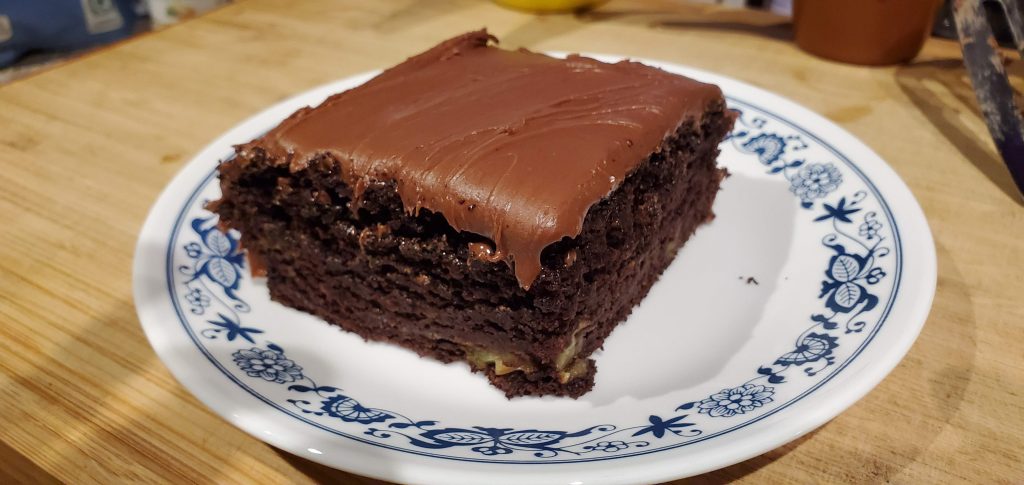
After last week’s Broccoli Chocolate Cake, I still had some broccoli left, and, I remembered that, when I was growing up, my mom used to make a delicious broccoli rice soup! Mom’s soup was undoubtedly made with dairy products, so I had to think outside the (dairy) barn!

The result was something I think is truly special, and uses some methods and skills I’ve been honing and learning about from other recipes. And, I’m pleased to say that this recipe is 100% original to the Plant-based Bear, and I’m pretty proud of it!

This soup is chock full of goodness, from whole grain rice, to carrots, onions, and, of course, broccoli!

Cheesy Brocolli Rice Cream Soup with Cashew Cream
This bowl of soup was the first I ever made while inventing this recipe, and “stirs in” the cashew cream at the end!

First, I start off with a little coconut milk, some water and several cups of veggies, like carrots, onions, and some garlic, along with just a bit of seasoning to get things going!

Carrots and onions simmer.
Carrots, onions and garlic simmer in just a little bit of coconut milk and water! I used red onions in this batch, and it simply darkens the color a bit!

Once most of the liquid has boiled off, I add a bit of vinegar, just for a bit of zest and to kind of “pickle” the ingredients. I add in a bit more water, a little more flavor, and two cups of cooked rice. Then, this soup base heads to the high-speed blender to turn creamy!

While blending, I heat up some more water, and add in everything else! And while I wait for everything to get nice and warm, I can whip up some cashew cream!

Cheesy Brocolli Rice Cream Soup
Even without cashew cream, the Plant-based Bear’s Cheesy Broccoli Rice Cream Soup is delicious!

Cheesy Broccoli Rice Cream Soup

A ridiculously creamy, whole-grain, healthy vegetable delicious hot treat!
Last updated April 20, 2020.
Prep Time20 minutes
Cook Time40 minutes
Raw cashew soaking time1 hour
Total Time1 hour
Course: Soup
Cuisine: American
Keyword: brocolli, cashew cream, Cheese, rice, soup
Servings: 8
Author: Plant-based Bear

Ingredients

Vegetable Cooking

  • ½ cup coconut milk
  • 1 ½ cups water
  • 2 cups carrots peeled and rough chopped. Roughly 4-5 medium carrots.
  • 2 cups onions rough chopped. About 1 medium-large yellow or white onion.
  • 2 to 4 cloves garlic minced or chopped
  • 1 ½ Tbsp McKay's "Chicken" Seasoning
  • ½ to 1 tsp ground cumin
  • 2 tsp white vinegar

Soup Base

  • 1 to 2 cups water
  • ½ cup nutritional yeast flakes
  • 2 cups rice cooked

Main Soup Ingredients

  • 3-4 cups water
  • 2 Tbsp corn starch
  • 3-4 cups rice cooked
  • 1 tsp seasoned salt optional or season as desired
  • tsp cayenne scant, optional or season as desired
  • tsp ground pepper scant, optional or season as desired
  • 3 cups broccoli lightly steamed, medium-fine chopped.
  • 1-2 Tbsp lemon juice season as desired, see notes.

Cashew Cream (Optional)

  • 1 cup raw cashews soaked overnight, or in boiling water for an hour
  • ¾ cup water

Instructions

Vegetable Cooking

  • In a large non-stick soup pan, add coconut milk, 1 1/2 cups water, carrots, onions, garlic, chicken seasoning, and ground cumin.
  • Cook on medium high, stirring occasionally, until liquid is almost gone.
  • Stir more frequently to cook the carrots and onions a bit more until almost dry.
  • Add vinegar, stir and cook that mostly off.

Soup Base

  • To the cooked vegetables, add 1 cup water. nutritional yeast and 2 lightly packed cups of cooked rice.
  • Stir until rice is separated, and everything is well-mixed.
  • Add entire mixture to high-speed blender.

Main Soup Ingredients

  • Before worrying about blending, return empty soup pan to stove, on high, add 3 cups cold water, and 2 Tbsp cornstarch. Mix well.
  • Blend the soup base in the high-speed blender until very creamy and smooth. If you have trouble blending, add water, 1/4 cup at a time until it easily blends, but remains thick. This may take a couple of minutes.
  • Back at the soup pan, the water should have heated to near boiling. Add 3 cups cooked rice and stir to separate.
  • Add seasoned salt, cayenne, and pepper.
  • Return soup base from blender to soup pan and stir in.
  • Add broccoli and lemon juice.
  • Season as desired.
  • Serve and enjoy. Store leftovers in a tightly covered container.

Cashew Cream (Optional)

  • To take this delicious soup from delicious to decadent, make and add some cashew cream!
  • In a high-speed blender (you don't really have to wash/scrape it out that well from the soup base), blend soaked cashews and water on high until you have a beautiful cream.
  • Stir cashew cream into the entire soup and mix, or use it to swirl into each bowlful!

Notes

2 cups of precooked rice is more than enough for this whole recipe.  Extra rice can be added for desired consistency.
Remember that cheese is often salty, so using a little extra chicken seasoning, seasoned salt, or salt-substitute than you normally might, will help add to the cheesiness!
The full amount or additional lemon juice can give things a lovely tang that works well for a cheesy taste!  More lemon juice may increase the “sharpness” of the “cheese.”
Water can be adjusted to suit the level of “soupy-ness” you require.  This soup will get thicker as it sits.  Use more water, if also using the cashew cream.
Cashew cream is completely optional, but does take this soup from delicious, to decadent!  You can just add the cream to the soup pan and stir in, or swirl in some into each bowl of soup as you prepare to serve.  If storing leftovers, cashew cream is properly best stirred into the remaining soup!

I hope this original Plant-based Bear recipe will become one that you truly enjoy. Or, if you have tips or comments, please pop them below! May your remaining winter evenings be full of something creamy, cheesy, soupy, and delicious!

PBB

Broccoli Chocolate Cake – Wait, what?

It’s been about a year since I started on the whole foods, plant-based lifestyle, and in that time, I haven’t had much cake. In fact, I don’t think I’ve had any. So, today, it seemed like a good day for some! I searched around online for some chocolate cake recipes that would have no oil, be plant-based, and sounded delicious. And, I finally stumbled across this one from Jeanette over at Vegan Envy. Jeanette’s passion for food, and essentially the same philosophy as me (a WFPB diet) makes her recipes a good fit, and I’ll be checking more of them out!

Jeanette has this easy and amazing sounding Healthy Aqua Faba Vegan Chocolate Birthday Cake: Fat-Free, Whole Wheat. It includes basic ingredients, and used zucchini to help with moisture, and at least pretend it’s healthy. Problem is, I don’t have any zucchini, or any kind of squash, and, I’m under a stay-at-home order in my area due to COVID-19. So, I wondered what else might do! And, I had a lot of broccoli that needed to be eaten before it went bad…

I’m no expert, but I reasoned that broccoli is the dryer, tougher, more flowery version of zucchini. When cooked, it’s a bit mushy, has a relatively light flavor, and seems to contain SOME moisture. So I set to work!

Jeanette’s recipe doesn’t print easily for some reason, as her pictures are so big (but I did appreciate knowing what things SHOULD look like), so I’ve included it below, just re-formatted.

Wet ingredients, including broccoli.
I mixed up the wet ingredients, simply substituting the broccoli for the zucchini.
Mixed up the dry ingredients.
I mixed together the dry ingredients in a separate bowl, as instructed.
Wet and dry ingredients, and all of that broccoli, mixed together to create a tasty batter!
I mixed everything together. As I thought that the mixture appeared a bit dry due to the nature of the drier broccoli, I added first 1/2 cup and another (total of 1 cup) of additional soy milk. Next time if I make this with broccoli again, I’ll add 1/2 cup of soy milk, and another 1/2 cup of aquafaba.
Cake batter poured into the baking pan!
Once my mixture looked kind of like Jeanette’s I spread into a 9×13 pan, as I don’t have any cake rounds!
Cake all baked!
55 minutes in the oven, and my toothpicks came out clean and the cake had risen and baked.
Could have risen a bit more, I suppose. Oh well! Time for the cake to cool!
Cake cooling on a towel.
I didn’t use any cooking spray (oil) on my non-stick pan, but did use a teflon baking sheet on the bottom to help get things to not stick. The cake came right out and is cooling upside down on a clean kitchen towel!
Mixing up some chocolate frosting!
Now time to mix up some frosting!
Frosted cake!
All frosted, and looking mighty tasty! Perhaps I should have stacked it!
Cutting a piece of cake, was a piece of cake!
Looks like we’re already diving right in! And it’s delicious looking, and you can still see the little bits of broccoli.
A piece of cake!
You can definitely taste the broccoli, but it’s certainly not unpleasant, any more than the carrot taste in carrot cake, or the zucchini taste would have been, I don’t think.

All in all, an amazing cake, and it’s down-right tasty. I’m sure the sugar in the cake and frosting contribute, uh, slightly, but wow, it was really delicious. You can even see a little green broccoli at the bottom corner!

Thanks to Jeanette for this recipe. I think I’ll be using this again, next time I need a decadent cake!

Whole Wheat, No Oil Vegan Chocolate Zucchini Cake with Vegan Frosting

Makes one frosted 9” diameter 29″ circumference two layer cake with chocolate icing filling.
Prep Time30 minutes
Cook Time45 minutes
Total Time1 hour 15 minutes
Course: Dessert
Cuisine: American
Author: Jeanette Whitten

Ingredients

CAKE INGREDIENTS

  • 1 cup non-dairy milk I've used soy or homemade pecan or almond milk (pecans or almonds blended with water in high speed blender).
  • 1.5 cups aquafaba* 2 cans of liquid from beans Save the beans for another recipe. I've used black beans lentils, kidney beans, chickpeas.
  • 2 cups brown sugar Or other dry sweetener.
  • 1 Tablespoon vanilla extract
  • 4 cups zucchini shredded – two medium zucchini I've also used spaghetti squash (had to adjust the liquid down a touch) but worked great! (PBB: Or broccoli)
  • 3 cups whole wheat flour My flour says “best for bread." I have also used white flour (it was at the lake and I didn't have any whole wheat).
  • 1.5 cups cocoa powder unsweetened The better the quality cocoa, the better the flavour cake.
  • 3 teaspoons baking soda Ensure is well mixed throughout the dry ingredients.
  • 1 teaspoon salt

FROSTING INGREDIENTS

  • 1 cup chocolate chips heaping dairy free
  • 1/3 cup non-dairy milk Soy milk is especially creamy and is lower fat than coconut milk. I've had great success with homemade pecan or almond milk. I blend 1/4 cup pecans or almonds with approx 2 1/4 cups water in high speed blender and I don't bother to strain it. Pecan is more decadent, but separates afterwards.
  • 3 cups icing sugar Or powdered sugar.

Instructions

CAKE INSTRUCTIONS

  • Preheat oven to 350° F (175° C). Lightly spray two 9” round cake pans.
  • In a large bowl, whisk together the non-dairy milk, aquafaba, brown sugar and vanilla.
  • Shred zucchini (or other squash substitute) in a food processor or with a grater.
  • Stir in the shredded zucchini. I used a spiralizer to make 2 cups of zucchini, which I then quickly chopped into small pieces, and then a small food processor to make the other 2 cups. I wanted some zucchini wetter and some more dry. You could food process all the zucchini instead.
  • In a separate bowl, mix the whole wheat flour, cocoa powder, baking soda and salt and then add to the zucchini mixture, stirring until completely combined.
  • Pour evenly into the two cake pans.
  • Bake for 40-45 minutes or until a toothpick inserted in center comes out clean.
  • The cakes should rise nicely, the top might feel a bit tough, but the frosting softens it up.
  • Let cool completely. Run a knife around the pans and turn upside down onto a cooling rack or towel.

FROSTING INSTRUCTIONS

  • While cake is cooling, make the frosting by putting the chocolate chips and non-dairy milk in a microwave safe glass bowl and microwaving in 15 second increments until chocolate is gooey but not a liquid. Add the icing sugar 1 cup at a time.
  • Stir frosting with a fork or whisk until it is completely smooth.
  • Add additional non-dairy milk one tablespoon at a time if required to reach smooth and desired spreading consistency.
  • Once cake has cooled, generously spread warm frosting on the bottom layer to get a nice thick middle layer of icing. I put the first cake upside down and the 2nd right side up so the two flat bottoms meet in the middle. Place the 2nd layer of chocolate cake on the 1st and spread the chocolate frosting over the top and sides.
  • The frosting spreads easily when it is warm, and then cools and stays in place. Microwave for 10 seconds if it becomes too thick to spread. This picture is from the next day… after sitting on the counter under a cake lid. Frosting is still holding up well!

Notes

*Aquafaba is the liquid in a can of beans, for example chickpeas or cannelloni beans, or the cooking liquid from making your own beans. The aquafaba replaces the protein that eggs normally provide. It strengthens the walls of the bubbles, and makes the cake fluffier.
Zucchini Substitution: Spaghetti Squash. (PBB: Or broccoli!)
Non-Dairy Milk Options: Soy or homemade Almond or Pecan milk.
Rectangle Option: 9″ x 13″ rectangle cake (not layered) – cook 5-10 min longer, until a toothpick inserted in the middle, to the bottom comes out clean.
Serving Suggestions Birthday candles!! Party hats!! Family and Friends!! A scoop of non-dairy ice cream!

Happy baking!

PBB

Hi”bear”nating for winter

The Plant-based Bear, obviously, is not a bear that needs, or is able, for that matter, to hibernate for the winter. But, when I looked at the site, and realized it’s been since October since I posted any updates, well, I had to make some pithy excuse!

The fact is, a lot has happened in my life over the last few months, and going out of my way to make tasty food and blog about it has been low on the agenda. Not to say that I didn’t continue to make tasty food, and I’ve still maintained my Plant-based Bear whole-foods-plant-based lifestyle.

But, like all changes that are for the better, some old habits can creep in. Like chocolate! I love chocolate. And, I found chocolate the contains no oil, no dairy, and is delicious. But, is it healthy? Well, probably not…

And, I love sourdough bread, with my healthy no-oil, plant-based butter. But is sourdough bread with butter and garlic salt regularly a totally healthy thing? Well, probably not…

So, while I haven’t put on any weight to speak of, and have maintained my lifestyle, it hasn’t been the source of much will, or content, or material.

So, let’s just pretend I’ve been hibernating, instead of ignoring you all completely. And, I’ll try to do better! And, I did make a FEW things. Pictures and posts to come, in the near future, I hope!

Thanks for cooking with me!

PBB