Dehydrated (drying) fruit!
Dehydrating or drying your own fruit is a great way to make a healthy, desirable snack, that’s pretty much guilt-free, and totally plant-based!
Skip to the How-tos for Bananas or Apples below, if you wish!
Back on Amazon Prime Day this year, I picked up a super cheap food dehydrator! Because of various discounts, coupons and such, I got it well under $20 (although now about $40), and I figured this was a decent way to decide whether it’d be something I’ll use long-term or not, without putting out much cash.
Back in the day when I was a kid, we walked uphill both ways to school my parents had gotten into food dehydrating, due to the abundance of produce we grew in our own yard, and sometimes hitting super cheap sales of things. So I remember hours spent getting the bananas, apples, prunes, and such dried. We even made our own fruit leathers and such, which is awesome, but my dehydrator doesn’t have fruit leather tray inserts.
Well, I don’t have a yard, don’t grow anything except a couple of houseplants I manage to keep alive, and well, real sales can be few and far between. And things like dried apples are easy to come by at the store, and actually pretty cheap. But, it’s not the same. So when I see a sale on something, I bring some home and slap them into my cheapy dehydrator.
Now, before I get too far, although I’ve linked the dehydrator I got (and who knows, I might get a penny if you clicked through to buy…) I don’t think I can really recommend it if you plan to get serious about food drying. It was super cheap for me, but the full price of $40 is a lot for it, and people have mentioned its many downfalls, such as no temperature adjustment, timer, and apparently flimsy trays. I’ve used mine at least a dozen times without issue, but, your mileage may vary! I may end up inheriting the old setup from when I was a kid at some point, or look into something better if/when I wear this thing out. For more information, check out this or this, for people who have evaluated them much more carefully than me, or heck, do you own Web search. People seem to love the Nesco and Excalibur dehydrators, unless you get super fancy.
One of the thing I miss are “banana chips”, which people may think of as dried bananas, but are actually deep fried and sugar or honey coated bananas. But here at the Plant-based Bear, we’re trying to do without oil. So, I guess we have to make our own! A local grocery store had a one-day sale on bananas for 5 lbs for $1, so I got about 15 lbs!
The How-to Guide for Drying Bananas:

Bananas are super simple to dry:
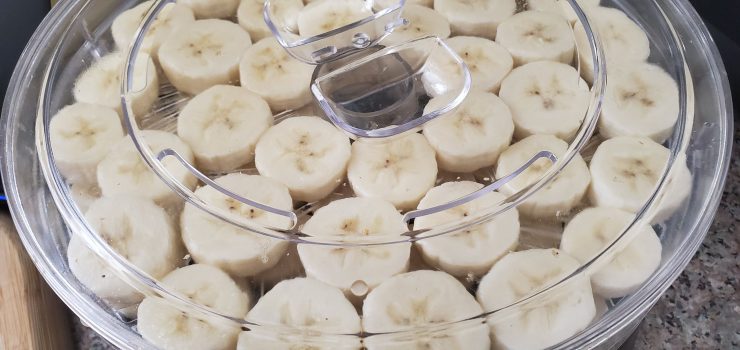
- Peel and slice ripe bananas into about 3/8 inch slices. Thinner works too.
- Pre-treat banana slices by coating with pineapple, orange, or lemon juice.
- Spread onto dryer trays, making sure most juice has been left behind. Bananas slices can touch, but shouldn’t overlap.
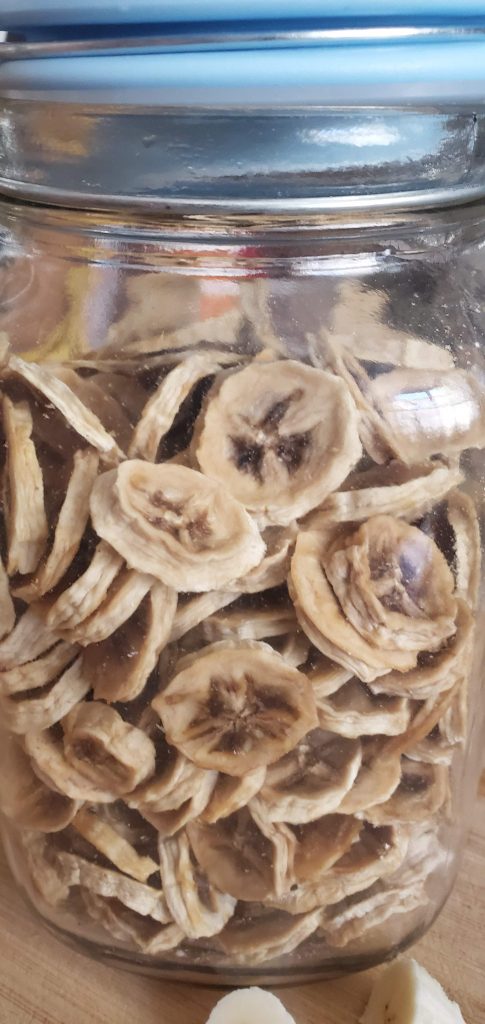
- Dry until very leathery or hard and crispy.
Good and ripe (but not spoiling) bananas work best. Green bananas will dry much more quickly, but have a grainy, almost powdery dry texture and almost no flavor, so are a complete waste (although don’t brown as much.)
You can cut your bananas thinner for a quicker dry time, but they’re kind of hard to peel off the dryer trays, and I don’t like the texture; but, too thick, and it’ll take forever for them to dry.
I simply cut my bananas up into a bowl of pineapple juice and then use my hands to grab handfuls of the bananas and spread on the trays, “straining” with my fingers. I use the pineapple juice because I think the flavor pairs well, but a decent orange juice or lemon juice will also have the effect of helping the bananas brown less, the purpose of the pre-treating. Of course, they will STILL brown…
Then, for my dryer, it takes about 24 hours for them to properly dry. You don’t want too much rubbery or squishy feeling in them, erring on the side of crisp to figure out when they’re done, for longer storage.
My food dehydrator apparently warms to about 135 degrees and is not variable. However, temps from 125 to 135 degrees F seems ideal for bananas, from what I can read online.
If you’ve managed to get all of the moisture out, these dried bananas will last in an airtight container for a VERY long time. If you don’t dry them enough, you can get mold, so again, err on the side of dryer and crispier. Of course, they may not last long as your house anyway, because I bet you’ll love them!

The How-to Guide for Drying Apples:
Apples are even easier than bananas, as they don’t require pre-treatment for browning. I’ve tried it both ways, dunking my apple slices in pineapple juice, and doing it without, and the difference in the final product is almost indistinguishable, so why bother?
- Wash and dry apples. Cut out any bad or questionable sections.
- Peel apples, if desired.
- Core, if you have a good way to do that.
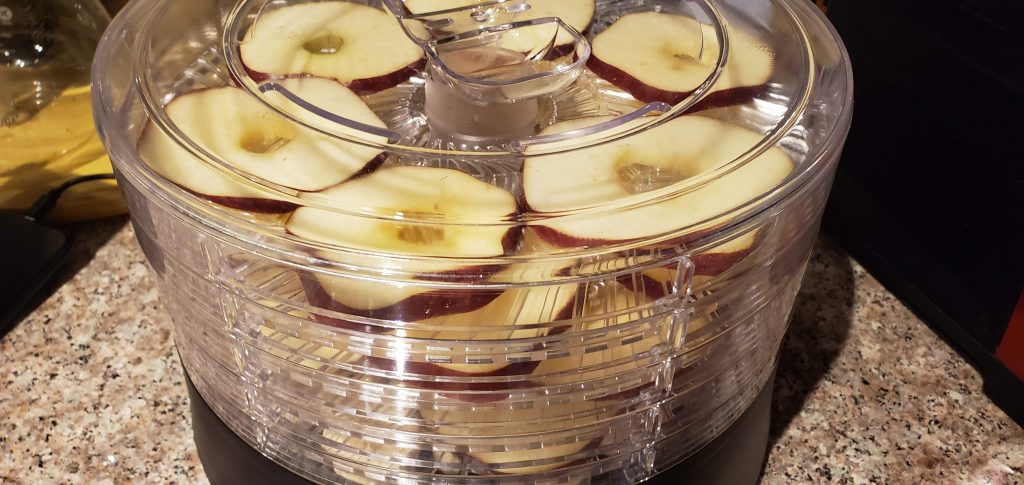
- Using a mandolin, slice apples in about 1/4 to 3/8″ slices.
- Spread on dryer trays
- Sprinkle with cinnamon if desired.
- Dehydrate!
You don’t want to think of using spoiling or super green fruit for dehydrating. Garbage in, garbage out, so use an apple you’d actually want to eat, not mushy, not hard green.
I don’t have much success coring my whole apples, so I slice first, and then cut out the middle, as needed. A bottle cap, or something of that nature works good for me for this, or even just a paring knife on the cutting board. You may have another kind of kitchen tool that you can use for this.
Some people seem to think it’s lazy to leave the peels on, but I kind of like the look, and the peels don’t bother me, so I leave them on. I’ve found that gala or fuji apples, or some of the other, non-red-delicious apples work best, but red delicious works fine, too.
For slicing, using a mandolin. Don’t think you can slice with a knife. You “COULD” slice with a knife, but you want a very even, consistence slice, so they dry at similar rates and you have a uniform appearance. I’ve chosen the mandolin to link that I have, because it has that nice container it sits on top of, and good ratings. The old mandolin that I use has to be propped against a bowl or something, otherwise you ruin the slices. If I was buying one, I’d get the one designed with the holding container.
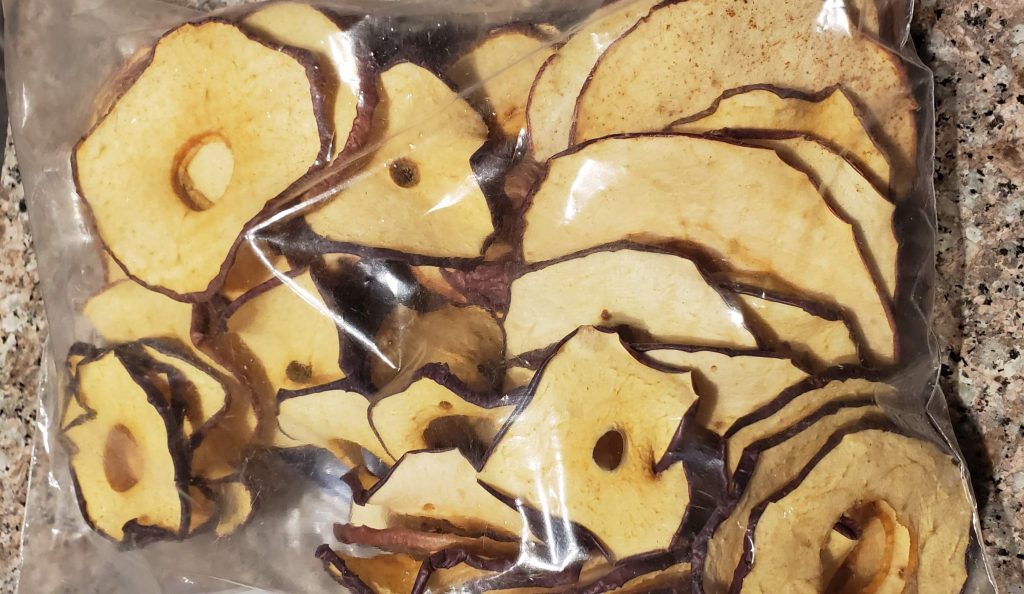
I’ve tried with and without cinnamon, but usually forget to add it. Either way, the slices are amazing. Dry until almost brittle or very leathery. Again, if stored in an airtight container, they should last forever if you’ve properly dried them enough, but too much moisture left in them will cause mold at some point. In my dryer, it takes about 12 hours, or overnight. Apparently, about 130 degrees F is ideal for drying apples.

The darker black peels are red delicious apples.
Now get snacking!


