Seems I had a another hankering for some good ole country potatoes this morning, which works out, since I just bought a big bag of potatoes. (And, fun fact, as I look back, this is almost the exact sentence I used to introduce the recipe for my No-Oil Air Fryer Country Potatoes, originally, in September!) But, I wanted this to be great, so I couldn’t just make the potatoes; I had to make it, um, better!
I’d mentioned in my No-Oil Air Fryer Country Potatoes recipe that most plant-based sour creams are about the same. And they are, with a few variations. The Seven Secrets Cookbook (which seems to be cheaper right now than I’ve noticed it before…hint, hint) has a good one that has silken tofu and a bit of cashews in it. But, that wasn’t my favorite, and seems to get quite hard after a few days in the fridge.
So, with help from Angela Liddon at Oh She Glows (which, the childish side of me says, “Maybe she ought to get that checked…”), I present her recipe, in typical form, slightly modified by me to be better and more amazing (of course, in my opinion!) Or something like that.
¾cupwatererr on the side of less rather than more*
3Tbspfresh lemon juice
2tspwhite vinegar
½tspsalt
Instructions
Cover cashews with water in a bowl and soak overnight in the refrigerator. Alternatively, you can do the "quick-soak method", where you pour boiling water over the cashews and soak them for 1 hour. Drain and rinse the cashews when ready to use.**
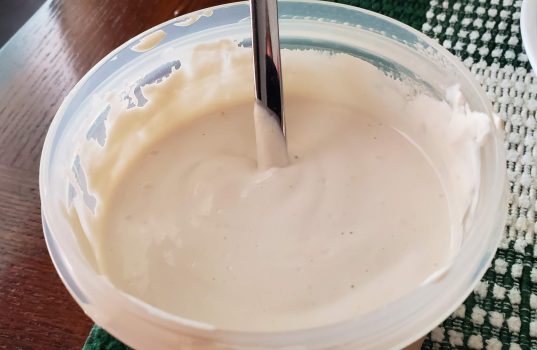
Put all ingredients in a high-speed blender. Blend on high until super smooth. For me, this was 1-2 minutes. At the end, you might slowly slow down your blender until stopped to get out extra air bubbles. Depending on your blender, you may also have to stop a few times and scrape the mixture down a bit. Adding slightly more water will help it, if it doesn't seem to be blending.
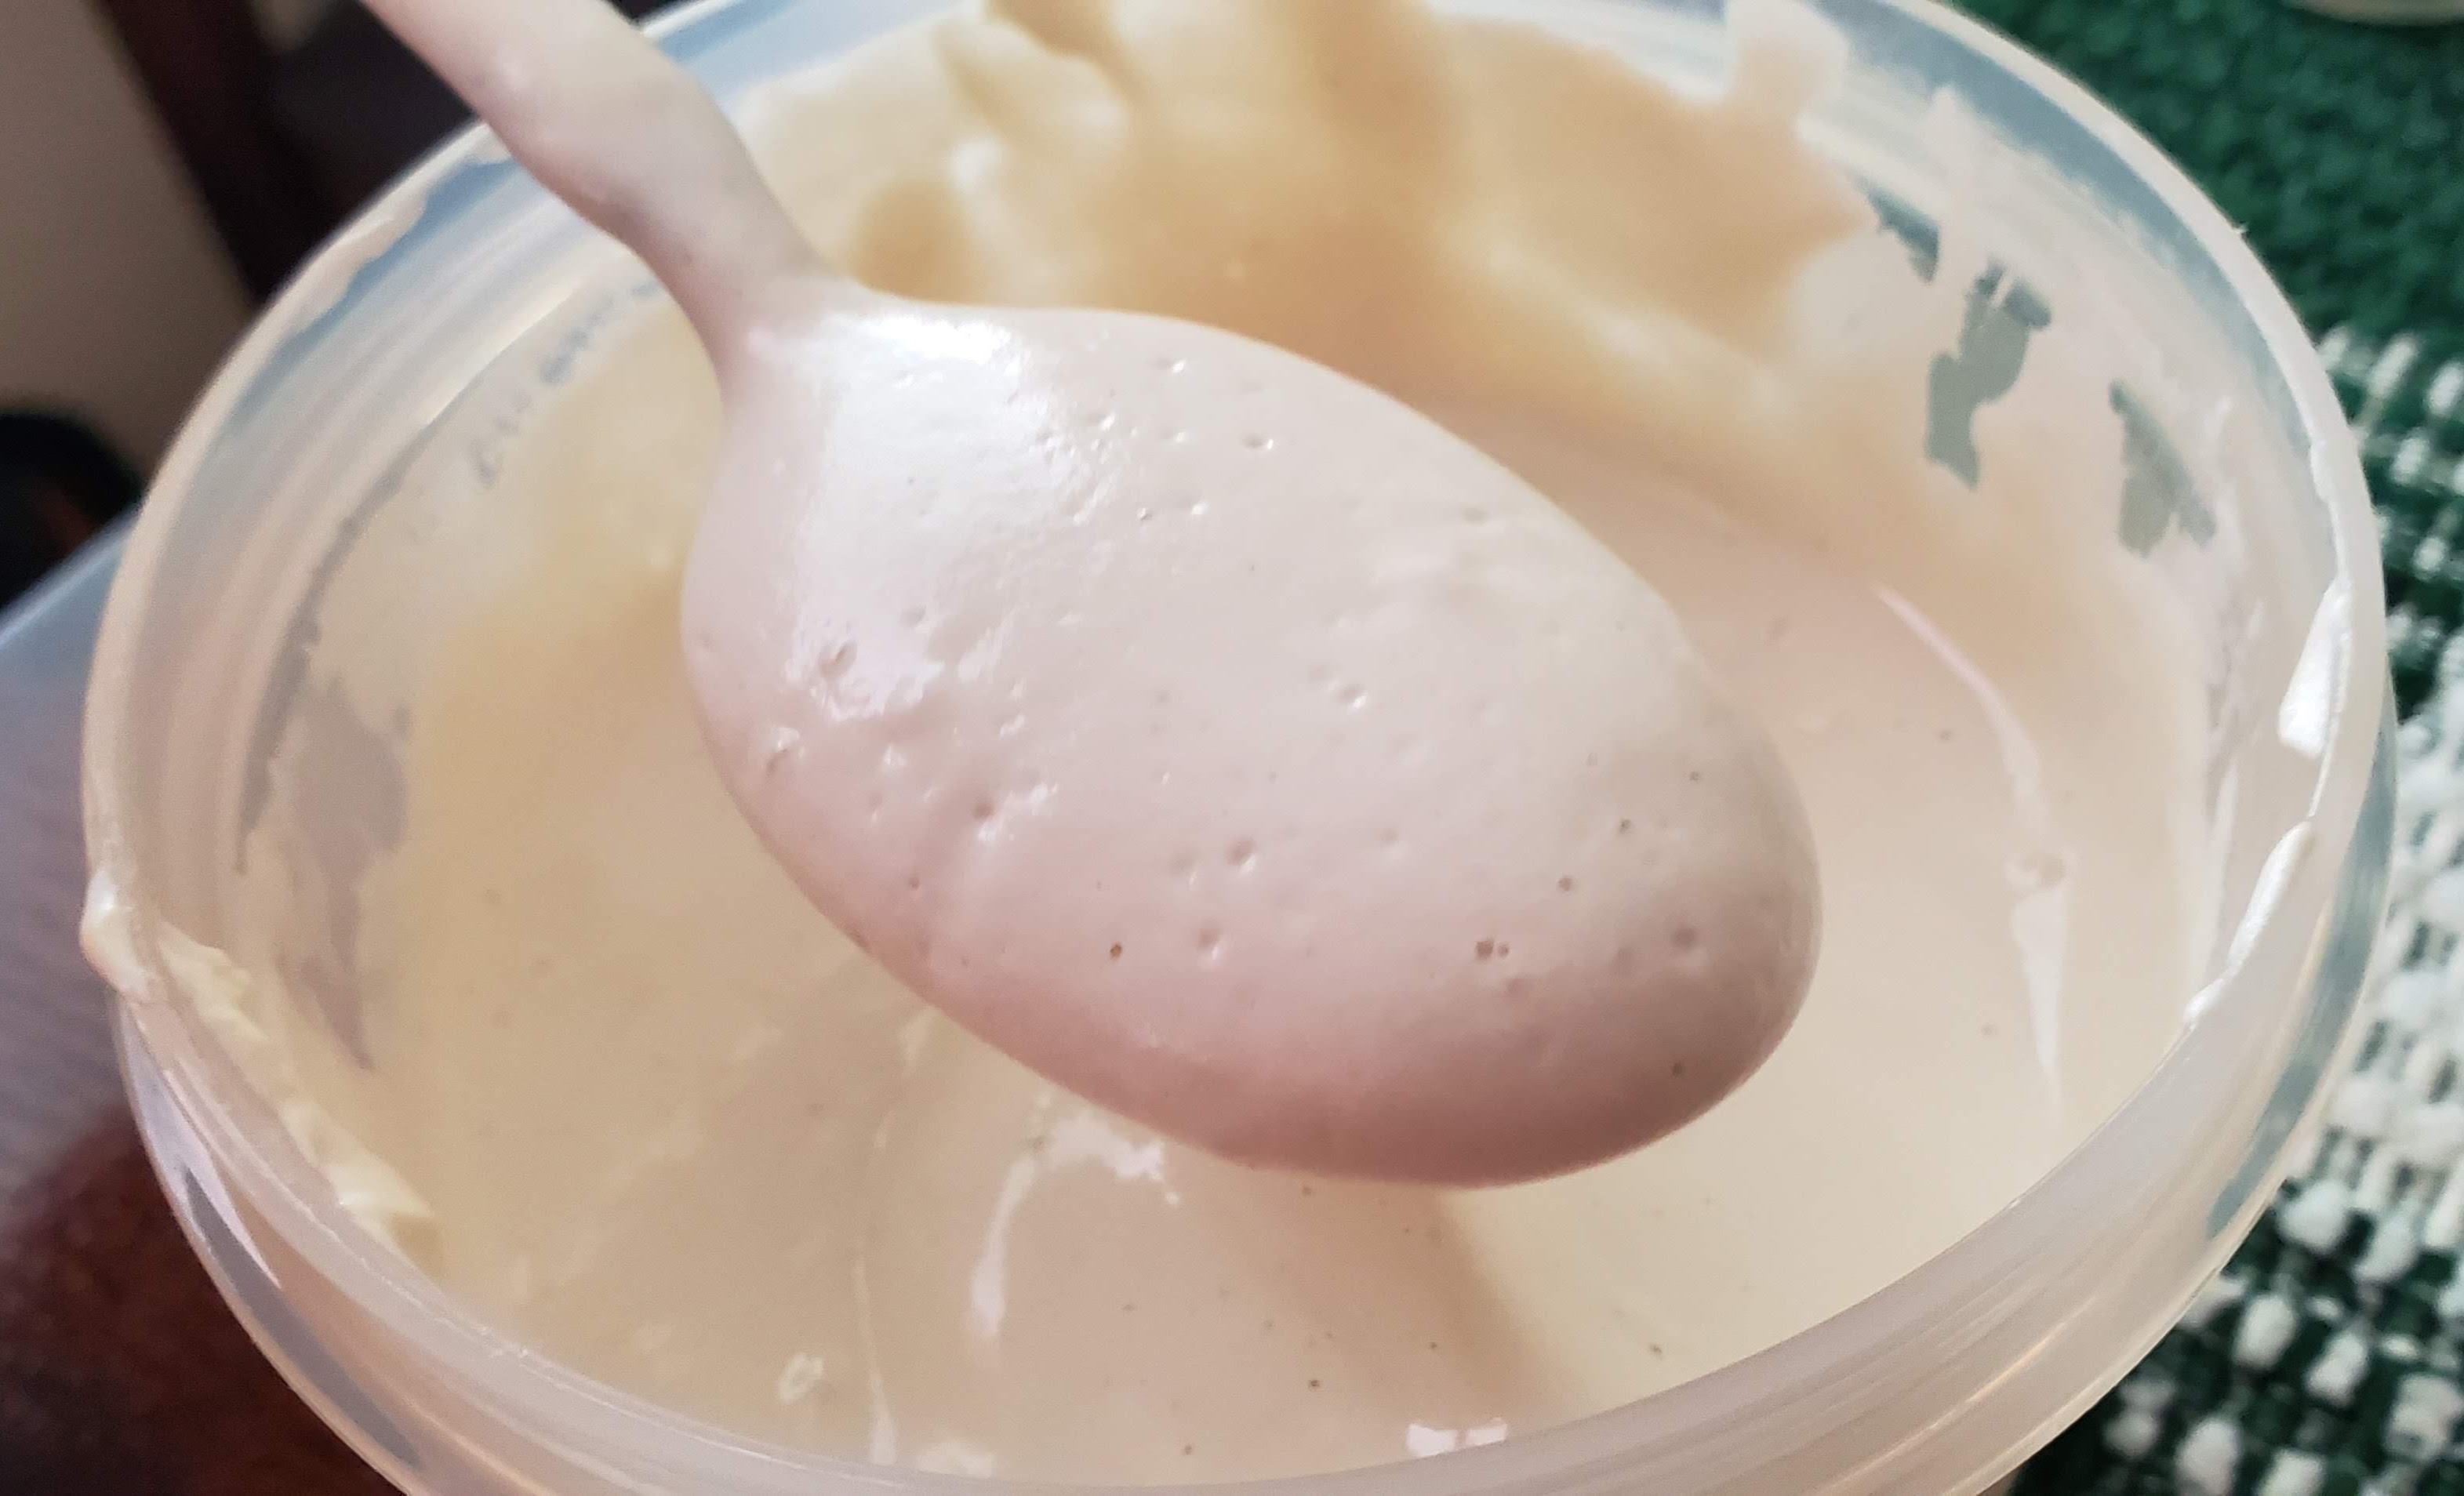
Scrape out of blender and into an airtight container and chill. The cream thickens as it chills, and will last 1-2 weeks.
Angela says: You can also freeze it for up to 1 month. I like to freeze it in silicone mini muffin cups. Once solid, transfer the cups into a freezer-safe zip bag for easy grab and go portions.
Notes
*Start with barely 3/4 cup water and see how it goes. Don’t use a “generous” 3/4 cup. If you need more liquid to make it properly blend, add it, just a little at a time, until you get a good blend going. Remember, this cream will thicken in the refrigerator, and it’s best to chill before serving, as the blender can heat this up quickly!**After soaking cashews, they are a weird gray color. Don’t worry. The cream gets pretty white upon blending!
Angela’s original recipe calls for less lemon juice, and the use of apple cider vinegar. I find that the extra lemon juice makes the cream more “soury” and that the apple cider vinegar adds a strange sweetness that seems to get even stronger over the life of the cream. I don’t really want my sour cream to be sweet, so I’ve made these modifications, and find it pretty tasty, indeed.
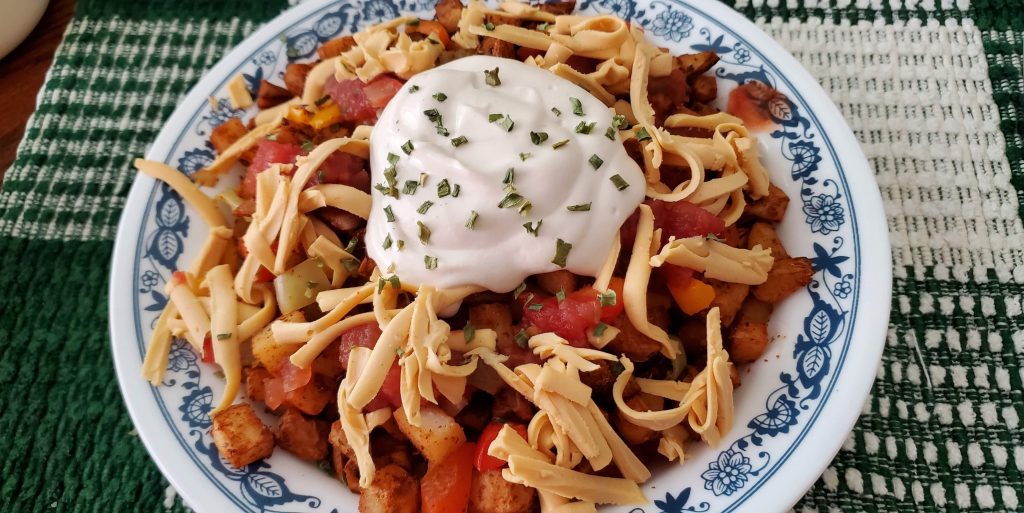
And those country potatoes I wanted for breakfast? They were delicious! I added in diced bell peppers and yellow onions before I was done cooking, and then topped them with last week’s Plant-based Cheddar Cheese (shredded), and some salsa!
No-Oil Air Fryer Country Potatoes with bell peppers and onions, and topped with Plant-based Sour Cream, Plant-based Cheddar Cheese (shredded) and some salsa!
May your days be sour, and creamy! Or at least your potatoes!
Well, tonight I decided to try the recipe again, as it is a good recipe, just not my all-time favorite so far. And, I’ll stand by my thoughts on the agar powder ratio, and my final verdict, again!
But, just to help you get inspired, I’ve taken a few more pictures on my journey tonight.
If using a high-speed blender, add water, cashews, bell pepper, nutritional yeast flakes, lemon juice, coconut milk, coconut oil, tapioca starch, cornstarch, onion powder, garlic powder, salt, and cayenne pepper.
Process until smooth and creamy.
Mix cold water with agar powder in a saucepan, bring to boil on medium stirring constantly.
Remove from heat and immediately add to cheese sauce.
Process until smooth.
Pour mixture into an oiled container and refrigerate for at least 1 hour.
Alternatively, especially when using a regular blender, process all the ingredients including agar powder in a blender until smooth. Pour sauce into a non-stick sauce on medium heat whisking constantly until thick and bubbly. Immediately pour into an oiled container and refrigerate for an hour.
Notes
I find the consistency of the method using the high-speed blender better. This recipe is not like storebought processed vegan cheese. So it’s not as firm. Yes, it slices and shreds but not like storebought and tastes amazing!The recipe calls for agar powder, if using agar flakes, use 3 times the amount instead.If you prefer a sharper flavor then add extra lemon juice
I was making a double-batch, as I do have a large blending container, and if I’m going to go through the work and mess to make it happen, I might as well make enough to matter! And, although not awesome, it does freeze “okay.” So if I don’t use it, in the freezer it’ll go!
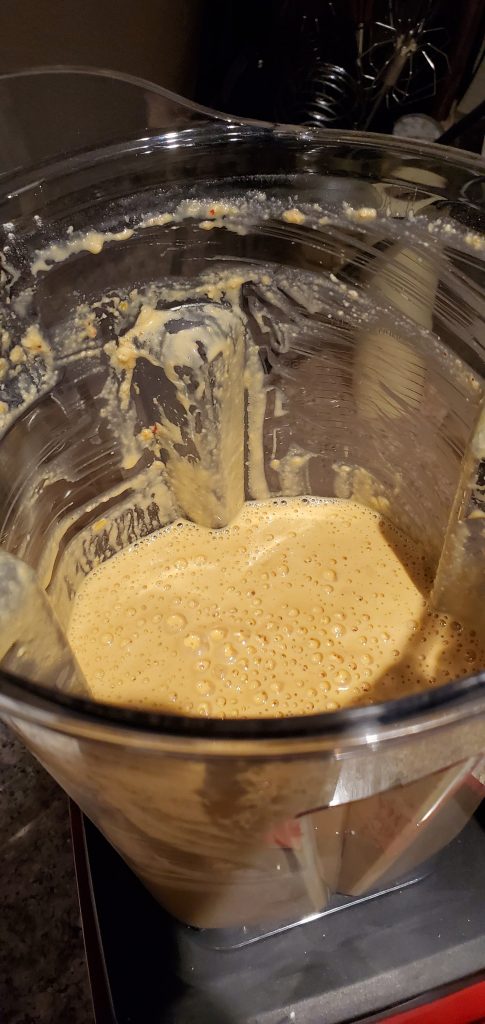
Doubling each ingredient (except that coconut oil, which I again avoided, and the first water and agar powder listed), I added them to my blender container and blended for about 1 minute, starting off at slow, but quickly working up to high.
All ingredients added to high-speed blender and blended about a minute.
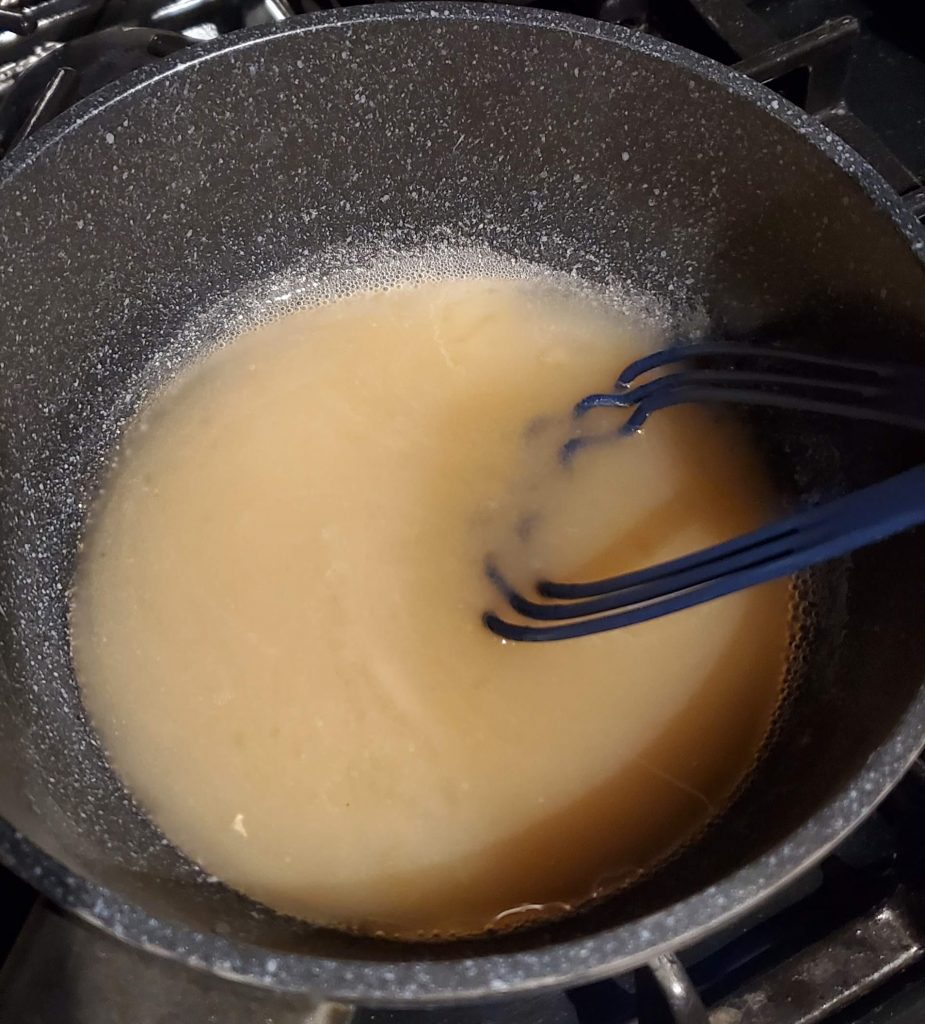
Next, I heated the agar (which I forgot to double, but, forgetting that I had the agar/water ratio problem, added another tablespoon for good measure. So I had 3 T of agar powder and 1 cup of water.
Heating the agar powder and water, stirring almost constantly.
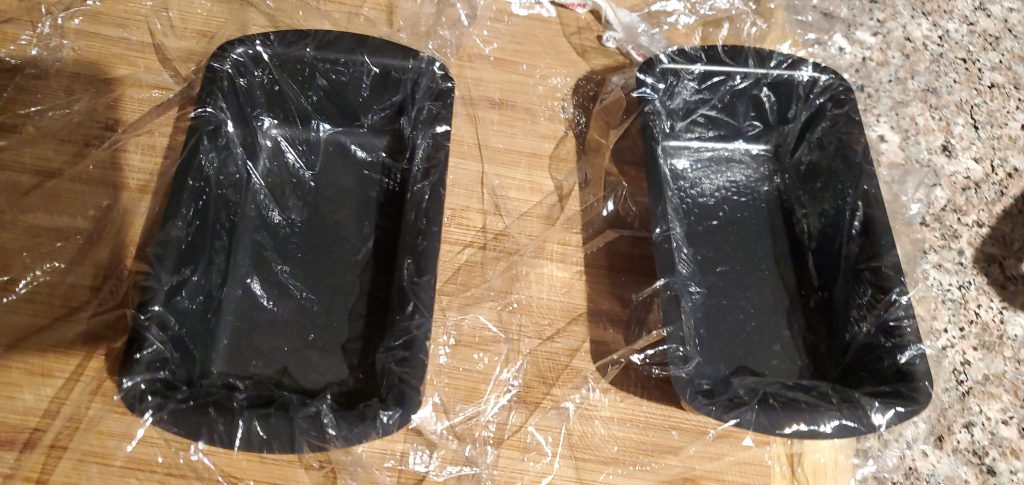
Once the agar mixture was super goopy, I added it to the blender, and blended for about a minute again. Previously, I had prepared my tiny loaf pans to create my cheese blocks. I still love my idea of lining the loaf pans with plastic wrap, and can’t understand why you’d do it any other way! It makes for super easy cleanup; just fold the plastic wrap neatly over the cheese, and turn upside down to dump out!
Tiny loaf tins lined with plastic wrap for easy cheese wrapping and cleanup!
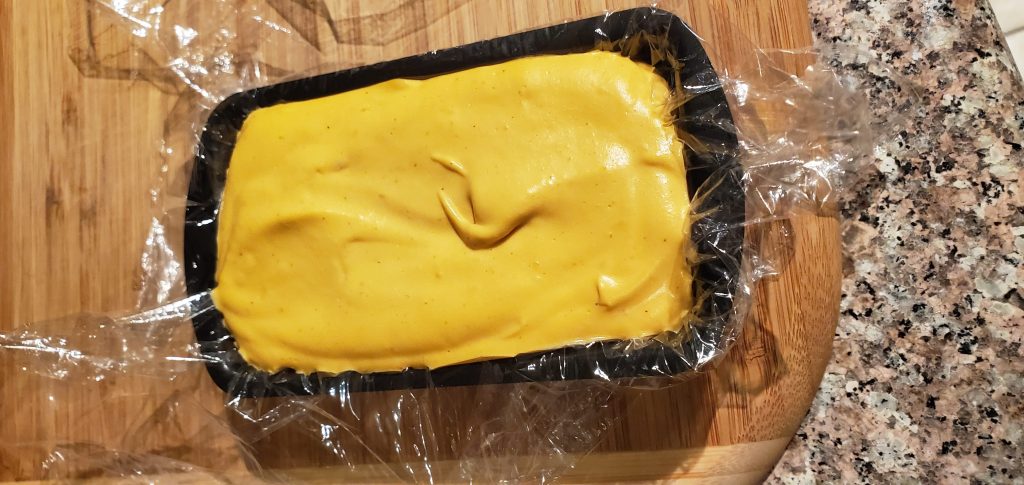
Working quickly once the blender stopped, I poured the goopy cheese into my loaf pans, and then simply popped them into the refrigerator.
Cheesey loaf ready to set!
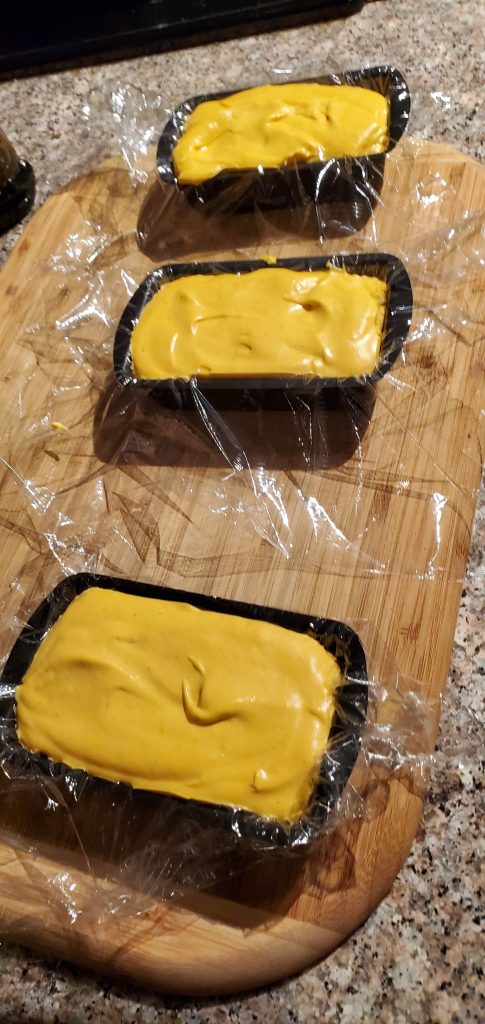
Many cheesey loafs ready to set!
This was fun, and I was excited that my double recipe created 4 loaves! But, then I got to wondering, would that coconut oil really make a noticeable difference?
Now, here at the Plant-based Bear, we don’t use oils, really, at all. But the recipe calls for the coconut oil. Why put the ingredient in there for no reason, as I’ve had success without it? And, the amount of oil is quite high. But, against my instincts (or perhaps just resolve) I decided to do it anyway.
(The Plant-based Bear doesn’t use oils at home, in general, but acknowledges they’re almost impossible to not have when dining out. So, from time to time I do have some oil, although I still try to avoid oily foods and everything deep-fried. I guess this was to be one of those times.)
After repeating the whole process for my new batch and then waiting for everything to get cooled in the refrigerator, it was taste-test time!
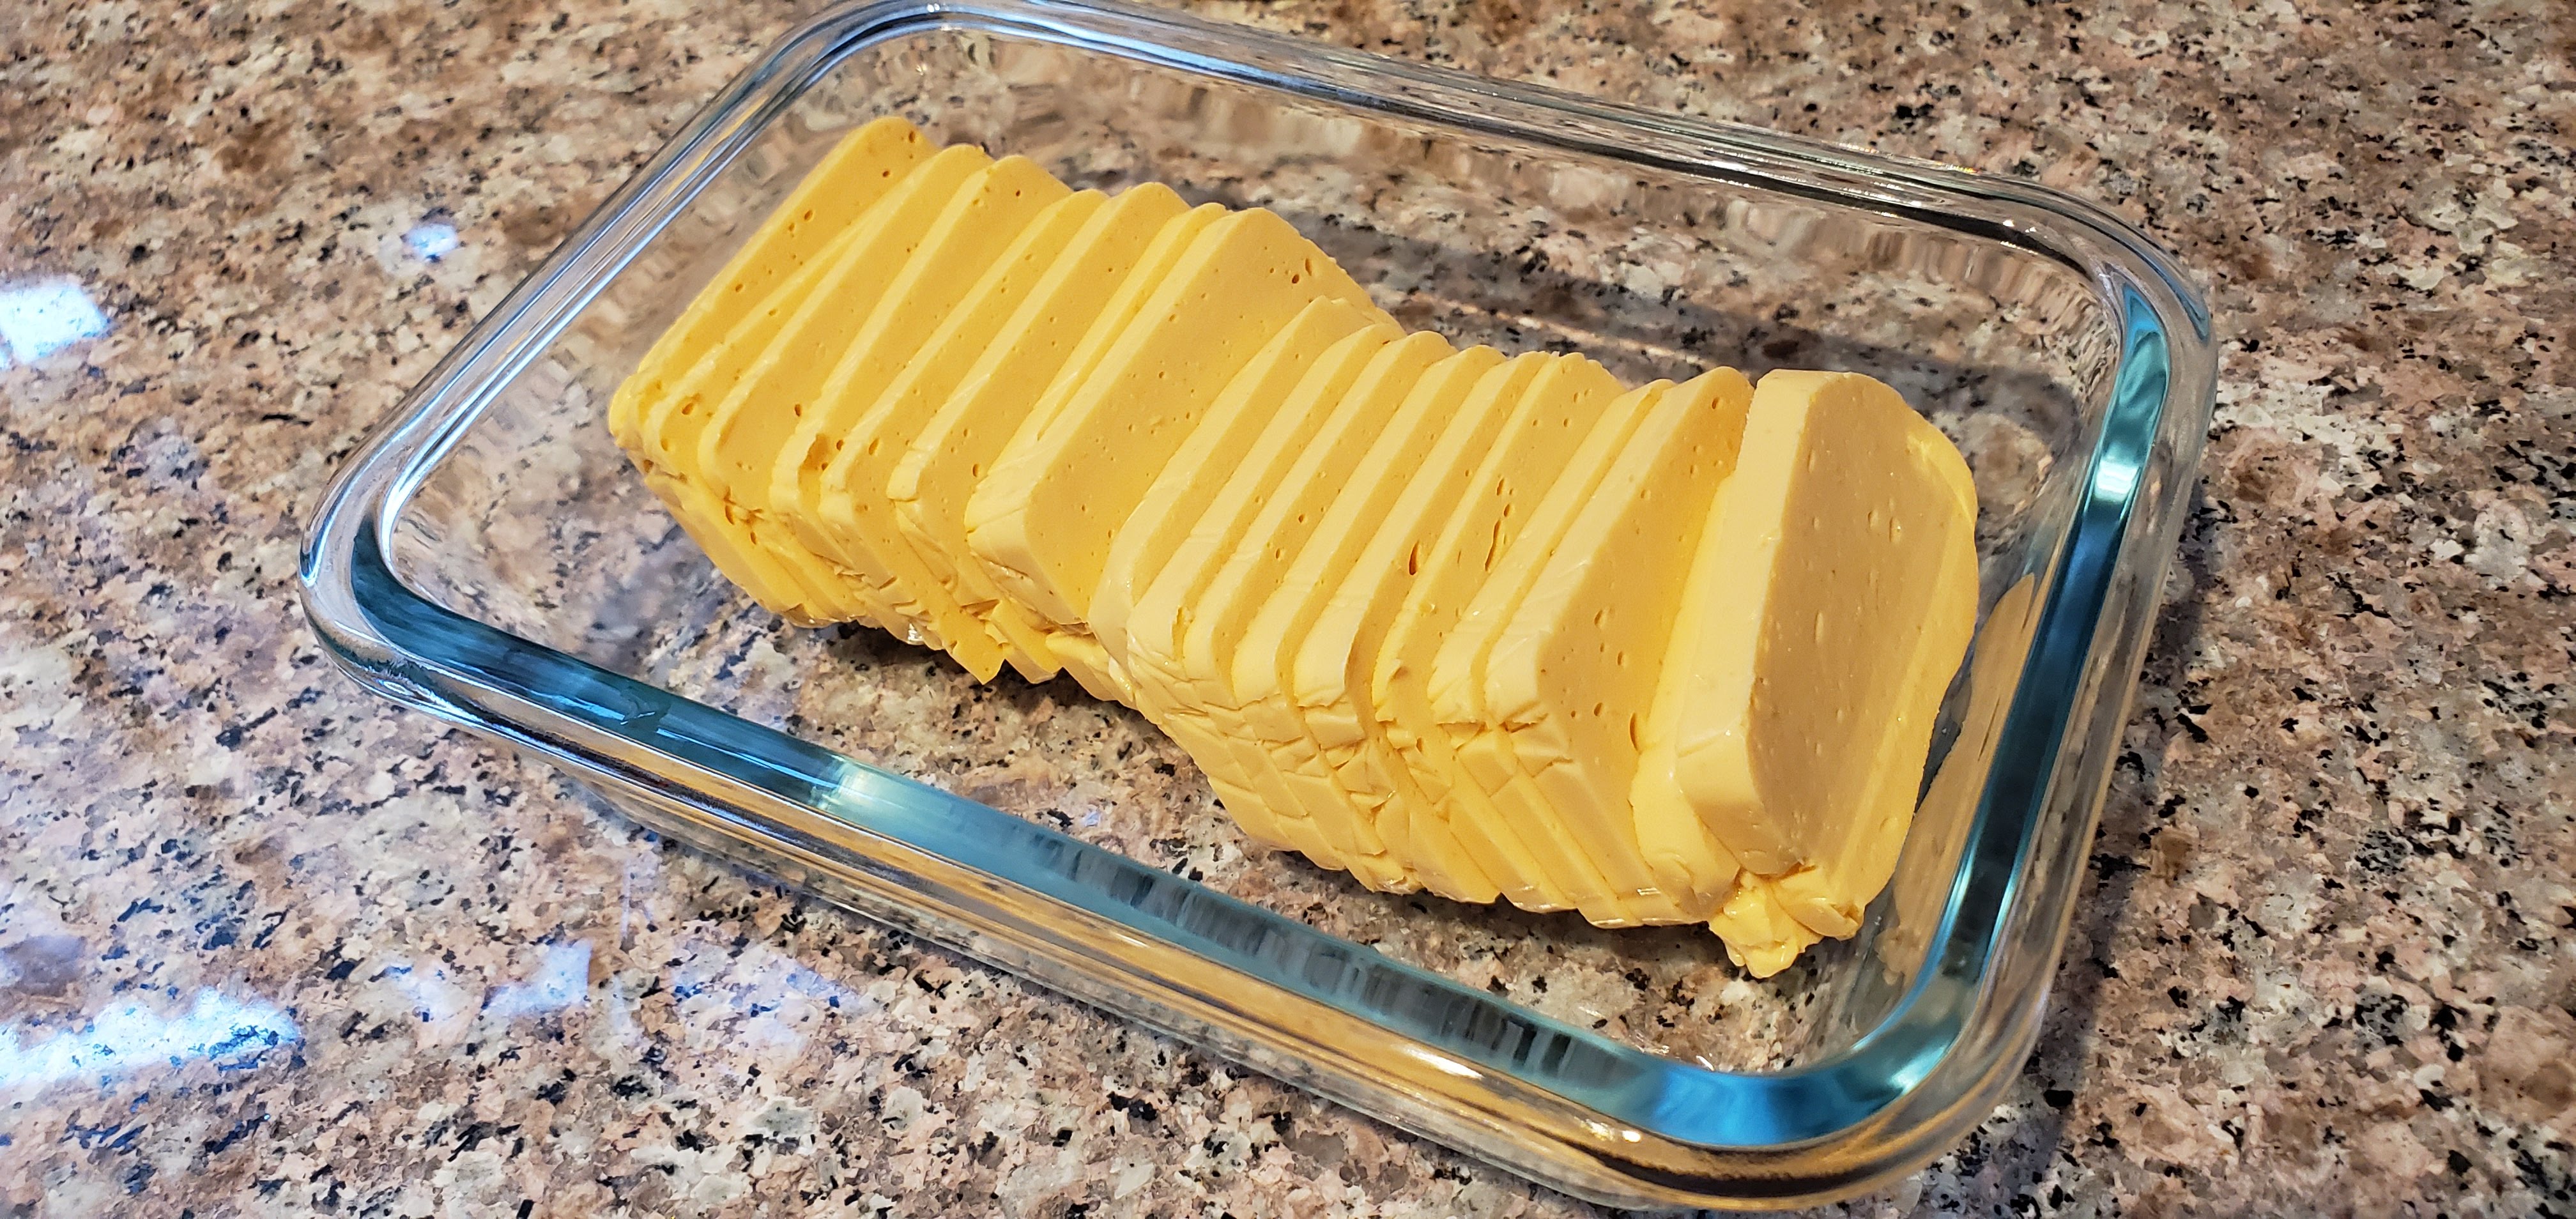
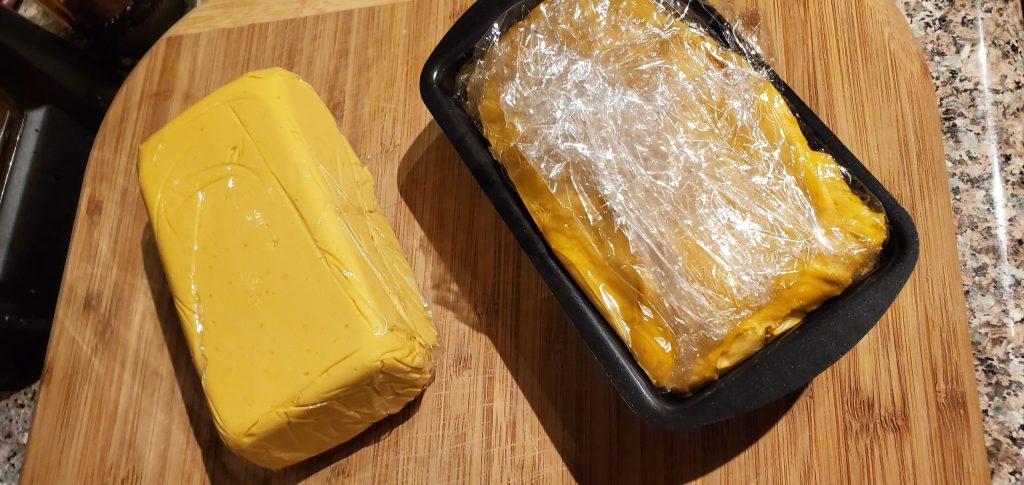
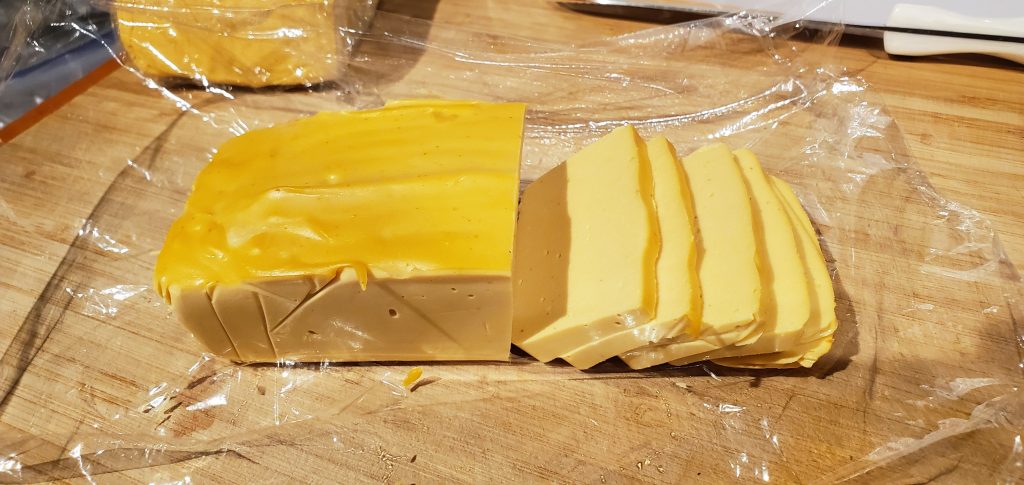
I neatly folded over the plastic wrap, then turned over and dropped the loaf out of the pan. For longer storage, I still keep everything in zipper bags, or airtight storage containers in the fridge.
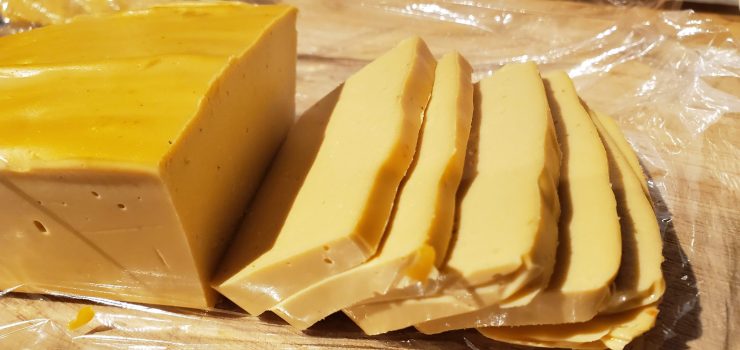
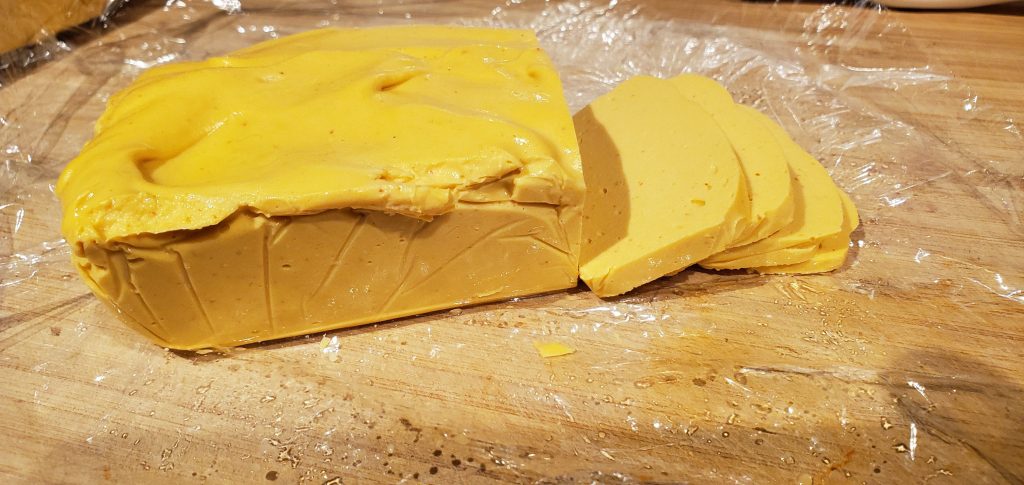
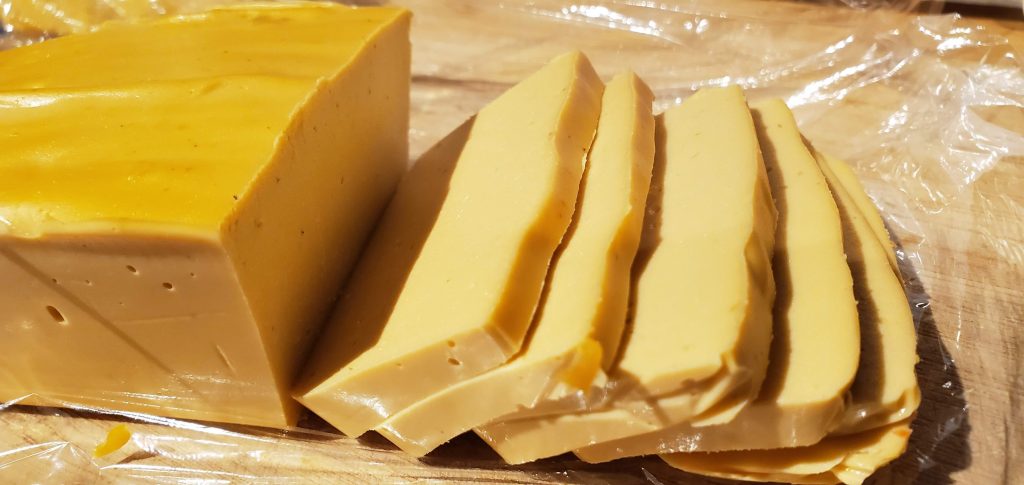
Neatly fold the plastic wrap over the loaf, and then lift out of the pan, and turn over! It’s ready!The no-coconut-oil cheese seems fine, and slices easily, and tastes great! Notice more bubbles, particularly in the shadows.The coconut-oil-included cheese looks about the same, but slightly lighter in color (which probably has nothing to do with anything), but seems a bit smoother, with fewer air pockets.Closeup of coconut-oil cheese to show a slightly smoother, less bubbly cheese, than without the coconut oil.
The coconut-oil cheese tastes identical, however, it does seem to have a smoother, less bubbly texture. The mouth feel is the same, although it’s slightly smoother there, too, more like Velveeta or something. It’s also possible I simply blended this batch a little bit longer.
So, to coconut oil, or not to coconut oil? NOT! The Plant-based Bear will still continue to NOT use oil as much as possible, and this experiment proved, that again, it’s simply not necessary for the amount of downsides.
Now, I have 8 little loaves of cheese for my upcoming weekend trip. I realize that sounds like I’ll only be eating cheese all weekend! But, I will take a couple of loaves on my trip, along with some homemade whole-wheat bread to makes sandwiches or whatever! Delicious!
Dehydrating or drying your own fruit is a great way to make a healthy, desirable snack, that’s pretty much guilt-free, and totally plant-based!
Skip to the How-tos for Bananas or Apples below, if you wish!
Back on Amazon Prime Day this year, I picked up a super cheap food dehydrator! Because of various discounts, coupons and such, I got it well under $20 (although now about $40), and I figured this was a decent way to decide whether it’d be something I’ll use long-term or not, without putting out much cash.
Back in the day when I was a kid, we walked uphill both ways to school my parents had gotten into food dehydrating, due to the abundance of produce we grew in our own yard, and sometimes hitting super cheap sales of things. So I remember hours spent getting the bananas, apples, prunes, and such dried. We even made our own fruit leathers and such, which is awesome, but my dehydrator doesn’t have fruit leather tray inserts.
Well, I don’t have a yard, don’t grow anything except a couple of houseplants I manage to keep alive, and well, real sales can be few and far between. And things like dried apples are easy to come by at the store, and actually pretty cheap. But, it’s not the same. So when I see a sale on something, I bring some home and slap them into my cheapy dehydrator.
Now, before I get too far, although I’ve linked the dehydrator I got (and who knows, I might get a penny if you clicked through to buy…) I don’t think I can really recommend it if you plan to get serious about food drying. It was super cheap for me, but the full price of $40 is a lot for it, and people have mentioned its many downfalls, such as no temperature adjustment, timer, and apparently flimsy trays. I’ve used mine at least a dozen times without issue, but, your mileage may vary! I may end up inheriting the old setup from when I was a kid at some point, or look into something better if/when I wear this thing out. For more information, check out this or this, for people who have evaluated them much more carefully than me, or heck, do you own Web search. People seem to love the Nesco and Excalibur dehydrators, unless you get super fancy.
One of the thing I miss are “banana chips”, which people may think of as dried bananas, but are actually deep fried and sugar or honey coated bananas. But here at the Plant-based Bear, we’re trying to do without oil. So, I guess we have to make our own! A local grocery store had a one-day sale on bananas for 5 lbs for $1, so I got about 15 lbs!
The How-to Guide for Drying Bananas:
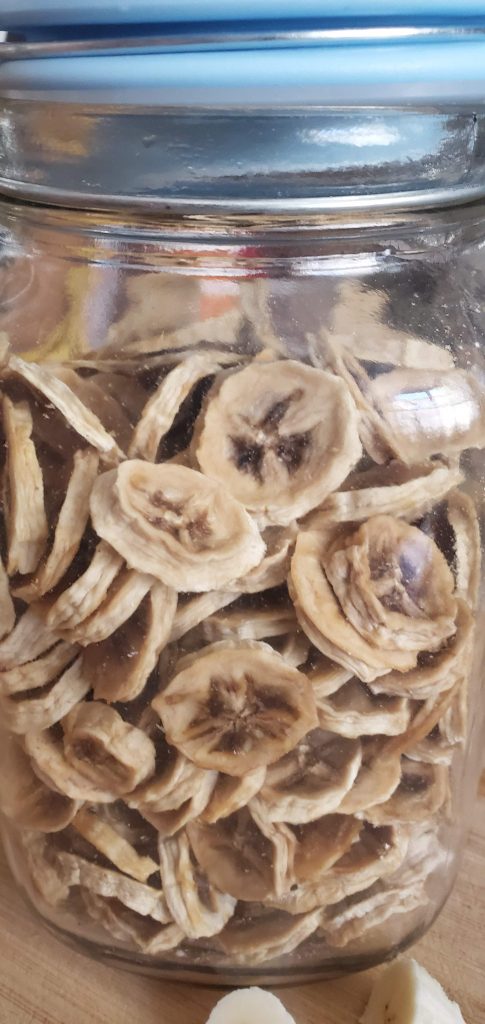
My dehydrated bananas, stored in an air-tight container.
Bananas are super simple to dry:
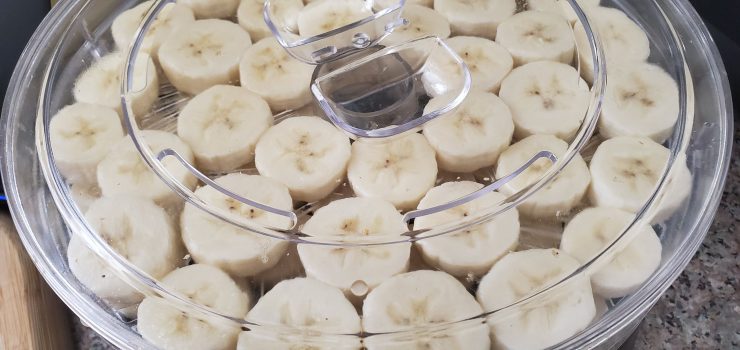
Peel and slice ripe bananas into about 3/8 inch slices. Thinner works too.
Pre-treat banana slices by coating with pineapple, orange, or lemon juice.
Spread onto dryer trays, making sure most juice has been left behind. Bananas slices can touch, but shouldn’t overlap.
Dry until very leathery or hard and crispy.
Good and ripe (but not spoiling) bananas work best. Green bananas will dry much more quickly, but have a grainy, almost powdery dry texture and almost no flavor, so are a complete waste (although don’t brown as much.)
You can cut your bananas thinner for a quicker dry time, but they’re kind of hard to peel off the dryer trays, and I don’t like the texture; but, too thick, and it’ll take forever for them to dry.
I simply cut my bananas up into a bowl of pineapple juice and then use my hands to grab handfuls of the bananas and spread on the trays, “straining” with my fingers. I use the pineapple juice because I think the flavor pairs well, but a decent orange juice or lemon juice will also have the effect of helping the bananas brown less, the purpose of the pre-treating. Of course, they will STILL brown…
Then, for my dryer, it takes about 24 hours for them to properly dry. You don’t want too much rubbery or squishy feeling in them, erring on the side of crisp to figure out when they’re done, for longer storage.
My food dehydrator apparently warms to about 135 degrees and is not variable. However, temps from 125 to 135 degrees F seems ideal for bananas, from what I can read online.
If you’ve managed to get all of the moisture out, these dried bananas will last in an airtight container for a VERY long time. If you don’t dry them enough, you can get mold, so again, err on the side of dryer and crispier. Of course, they may not last long as your house anyway, because I bet you’ll love them!
The How-to Guide for Drying Apples:
Apples are even easier than bananas, as they don’t require pre-treatment for browning. I’ve tried it both ways, dunking my apple slices in pineapple juice, and doing it without, and the difference in the final product is almost indistinguishable, so why bother?
Wash and dry apples. Cut out any bad or questionable sections.
Peel apples, if desired.
Core, if you have a good way to do that.
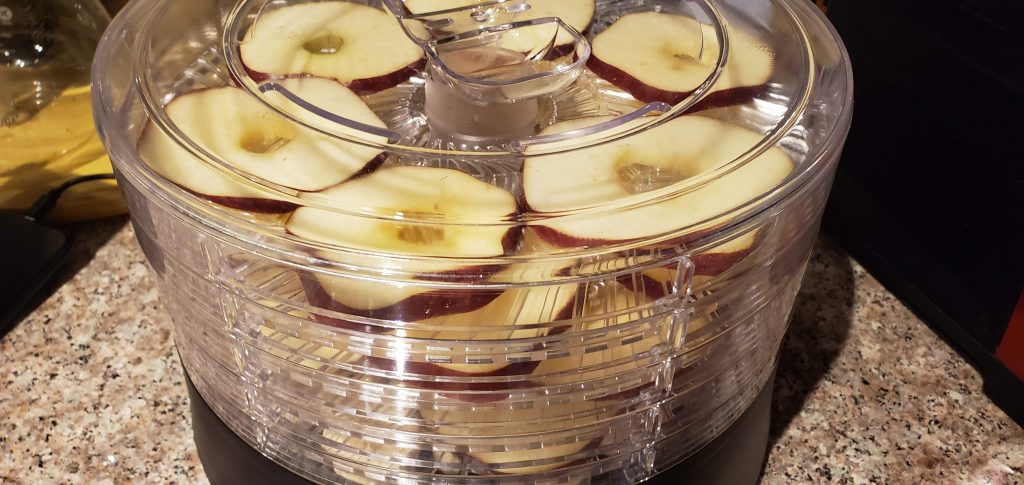
Using a mandolin, slice apples in about 1/4 to 3/8″ slices.
Spread on dryer trays
Sprinkle with cinnamon if desired.
Dehydrate!
You don’t want to think of using spoiling or super green fruit for dehydrating. Garbage in, garbage out, so use an apple you’d actually want to eat, not mushy, not hard green.
I don’t have much success coring my whole apples, so I slice first, and then cut out the middle, as needed. A bottle cap, or something of that nature works good for me for this, or even just a paring knife on the cutting board. You may have another kind of kitchen tool that you can use for this.
Some people seem to think it’s lazy to leave the peels on, but I kind of like the look, and the peels don’t bother me, so I leave them on. I’ve found that gala or fuji apples, or some of the other, non-red-delicious apples work best, but red delicious works fine, too.
For slicing, using a mandolin. Don’t think you can slice with a knife. You “COULD” slice with a knife, but you want a very even, consistence slice, so they dry at similar rates and you have a uniform appearance. I’ve chosen the mandolin to link that I have, because it has that nice container it sits on top of, and good ratings. The old mandolin that I use has to be propped against a bowl or something, otherwise you ruin the slices. If I was buying one, I’d get the one designed with the holding container.
I’ve tried with and without cinnamon, but usually forget to add it. Either way, the slices are amazing. Dry until almost brittle or very leathery. Again, if stored in an airtight container, they should last forever if you’ve properly dried them enough, but too much moisture left in them will cause mold at some point. In my dryer, it takes about 12 hours, or overnight. Apparently, about 130 degrees F is ideal for drying apples.
I simply store my dried apples in a plastic bag! The darker black peels are red delicious apples.