Plant-Based Cheddar Cheese
I’ve now tried several recipes for a plant-based cheese, and although I really do like my Plant-Based Sharp Cheddar recipe, I’m still on the hunt for the “perfect” plant-based cheese!
As I search through cheese recipes, most of them are variations of the same theme, which doesn’t mean I won’t try them, but I expect similar results and maybe not a solution to downsides of other recipes I’ve tried. But, this one from Michelle Blackwood over at Healthier Steps, caught my eye as it included some different ingredients that I thought might help make the cheese more firm and perhaps more, uh, cheese-like, or having the same feeling, texture, and type of cutting of a real cheddar. The tapioca starch (or flour) and the cornstarch could make it more interesting!
Recently I’ve been using this agar powder, which is about as good of a price and quality I’ve yet been able to find. It is working great in all of the other cheese recipes. However, the amount of agar (2 T) in Michelle’s recipe seems a bit high, particularly for a 1/2 cup of water. For comparison, my Plant-Based Sharp Cheddar recipes uses 1 T of agar powder to 1 cup water. I would think that Michelle just made a simple mistake and has Tablespoons, instead of teaspoons, but she does properly list 2 teaspoons kappa carrageenan as an alternative, and doubles-down on the amounts of agar powder and water in the comments when some said their cheeses were too soft.
I followed the recipe, only doubling the lemon juice, but, due to the Plant-based Bear not using oil, just skipped the coconut oil in the recipe entirely. I’m not sure how this might affect things, but the cheese turned out fine and didn’t need additional oil, at least from a non-stick angle. All was well…
…Until I started making that agar/water mixture. I couldn’t even begin to dissolve 2 T of agar powder into the 1/2 cup water, and got a gluey ball that wouldn’t at all be able to be brought to a boil. I tried adding just a SMALL amount more water, but that wasn’t enough to make a difference either. I wasn’t measuring my added water, but I’d imagine I ended up with a cup and a half of water or more to make a rather thick agar paste I could bring to a boil. I poured it into the other mixture and blended as instructed.
I have a number of “tiny loaf” pans that I use for making cheese, and instead of oiling up, I simply line them with plastic wrap, leaving excess in place, extending beyond the pan. This makes things non-stick, super easy to clean up, and I can wrap the resulting cheeses in the extra wrap. I bought my 1-cup tiny loaf pans years ago, and can’t for the life of me find any more, but this pan would also be similar. For this recipe, I can make three “loaves” of cheese.
The Healthier Steps original Vegan Cheddar Cheese recipe is below:

Vegan Cheddar Cheese
Ingredients
- 1/2 cup water for mixing with agar powder
- 2 tablespoons agar powder or 2 teaspoons kappa carrageenan
- 1/2 cup water for mixing with other ingredients
- 1/2 cup cashews raw
- 1/2 cup red bell pepper chopped, seeds removed
- 1/4 cup nutritional yeast flakes
- 2 tablespoons lemon juice
- 2 tablespoons coconut milk
- 2 tablespoons coconut oil optional
- 1 tablespoon tapioca starch
- 1 tablespoon non-gmo cornstarch
- 1 teaspoon granulated onion powder
- 1 teaspoon granulated garlic powder
- 1 teaspoon salt
- Pinch Cayenne pepper optional
Instructions
- If using a high-speed blender, add water, cashews, bell pepper, nutritional yeast flakes, lemon juice, coconut milk, coconut oil, tapioca starch, cornstarch, onion powder, garlic powder, salt, and cayenne pepper.
- Process until smooth and creamy.
- Mix cold water with agar powder in a saucepan, bring to boil on medium stirring constantly.
- Remove from heat and immediately add to cheese sauce.
- Process until smooth.
- Pour mixture into an oiled container and refrigerate for at least 1 hour.
- Alternatively, especially when using a regular blender, process all the ingredients including agar powder in a blender until smooth. Pour sauce into a non-stick sauce on medium heat whisking constantly until thick and bubbly. Immediately pour into an oiled container and refrigerate for an hour.
Notes
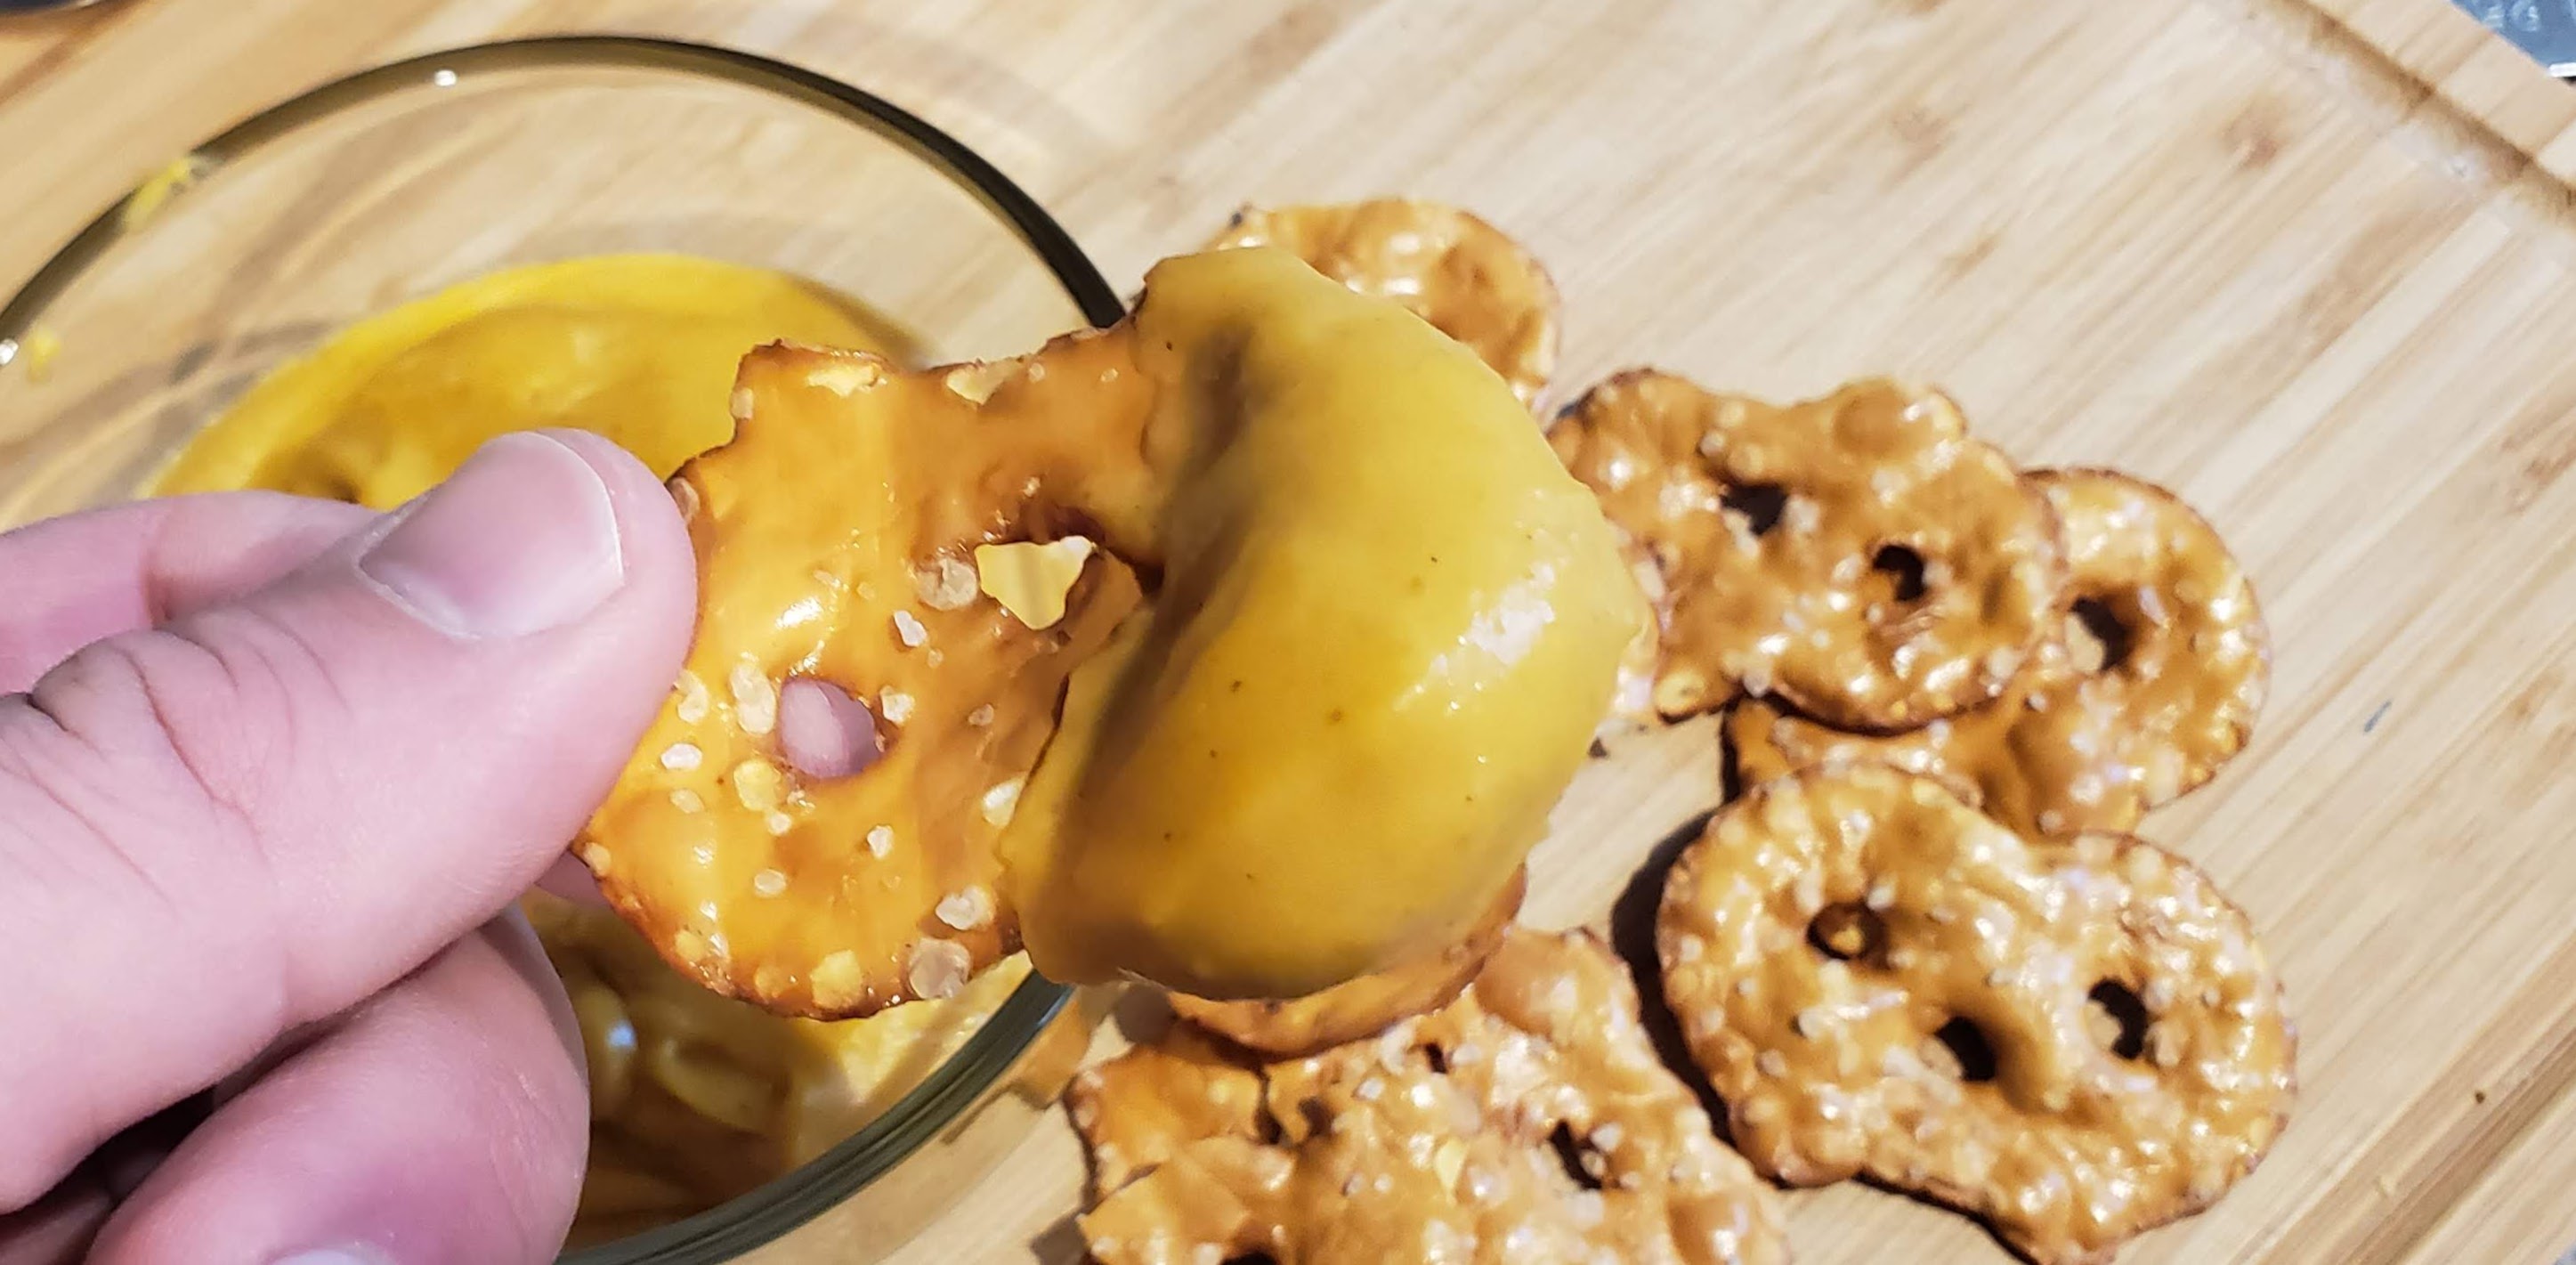
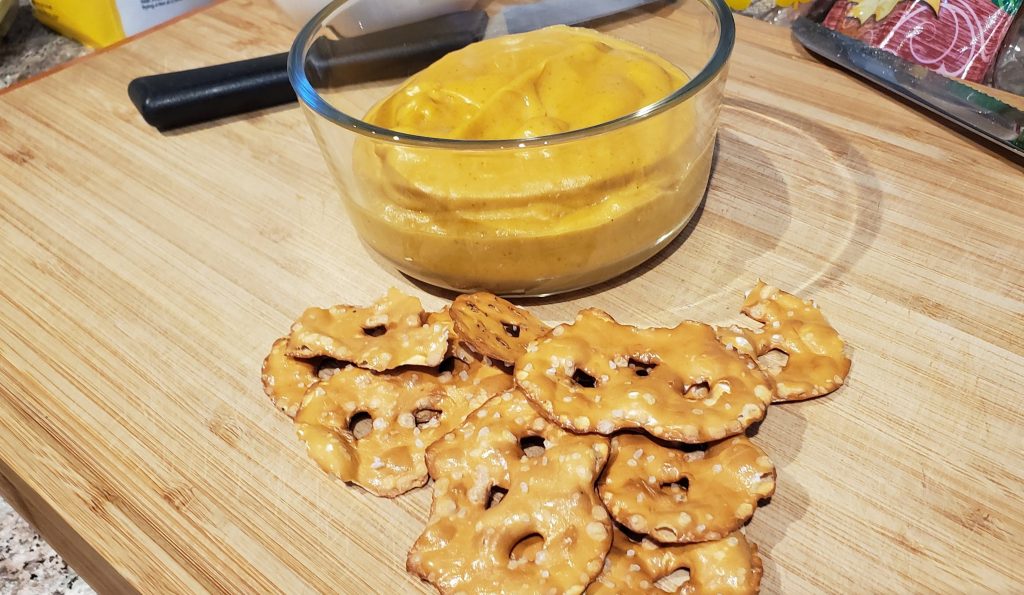
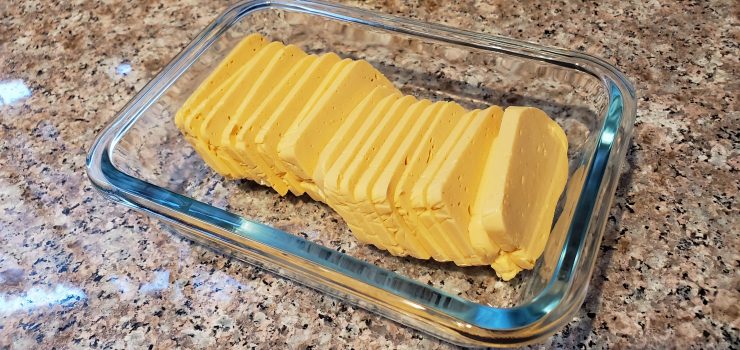
The results were okay. I think my “pinch of cayenne” was rather large, so my cheese was a bit spicy, and it definitely was more firm than other cheese recipes (probably due to the “excess” agar.) But I didn’t find it dramatically different or better, and it still looks about the same. It’s still more of a “Velveeta” consistency, rather than a typical hard dairy cheese.
I’ll have to try it again soon, with what I’ve learned, and then maybe publish a Plant-based Bear edit!
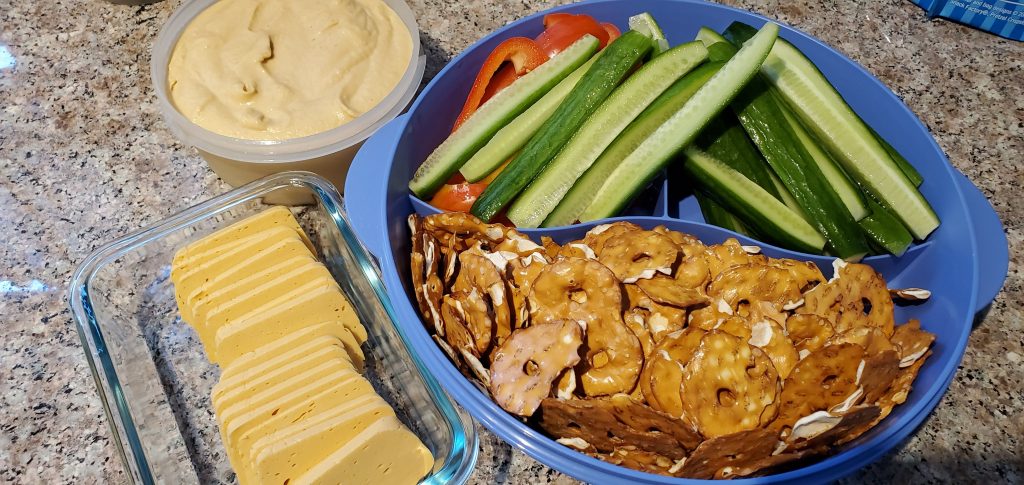
I did slice the cheese up, and pair with Pretzel Crisps, fresh veggies, and some home-made hummus to take to a get-together, and everyone loved it!
Michelle has some real interesting things on her site, so I do encourage you check it out if you like Jamaican, Asian, and/or Cajun flavors.